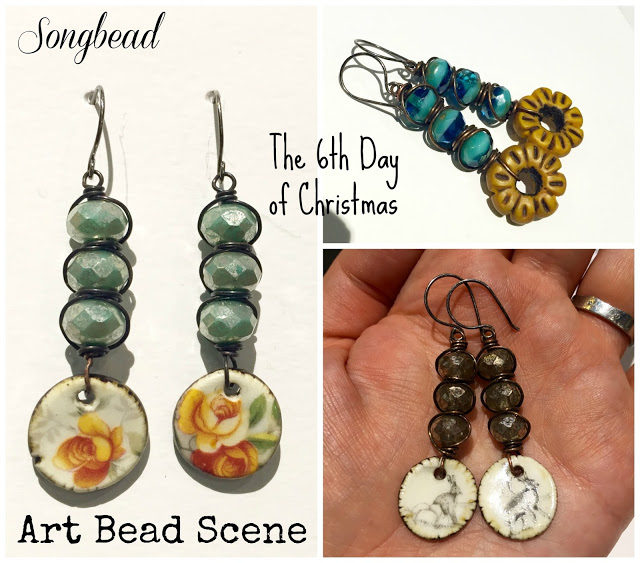
Hi folks! It’s a bumper edition of Art Bead Scene today – you get your usual Monday ‘Amuse the Muse’ but also the 6th Day of Christmas’ free project from me. I’ve vaguely stuck with my ATM theme for this project by using petite ceramic and polymer charms from
Grubbi and
Beady Eyed Bunny.
To be honest, these cute charms are such that you could simply pop a couple of jump rings/ear wires on and you’d have super-cute, dainty earrings all ready to go! The perfect holiday gift – earrings or ornaments. But I don’t know about you – I almost feel like it’s cheating myself out of half the fun to just add findings and then go. I like to add at least a little of myself into even the smallest of projects! And so I came up with this simple wirework project to add a touch of something extra to these small, rustic charms.
Ingredients:
* Pair of handmade charms (polymer, ceramic, metal – whatever material you like!) – see links above for similar charms to those which I have used.
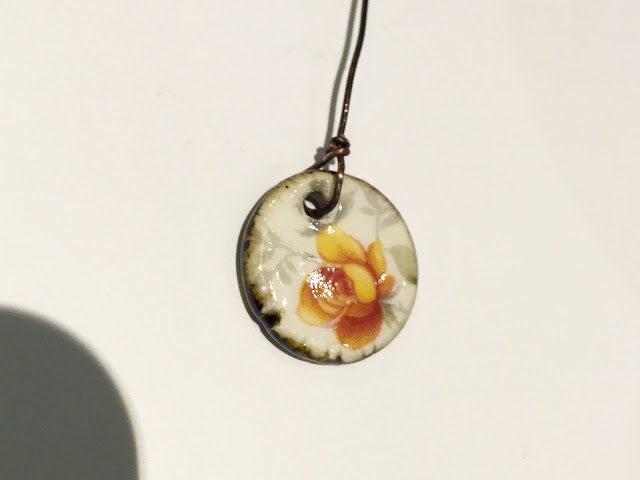
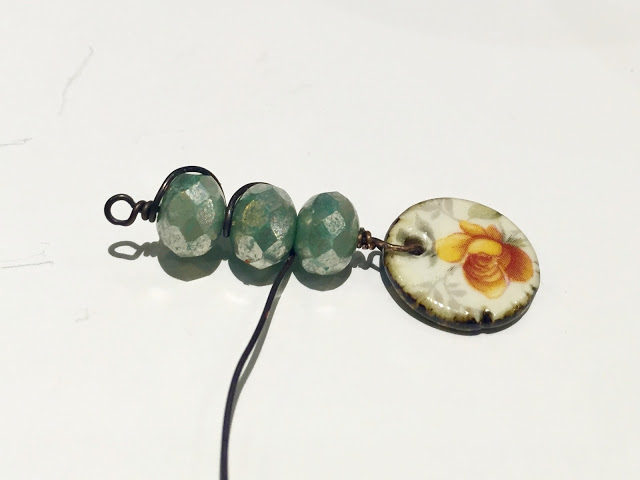
1. Cut a 30cm piece of 0.6mm/22g antiqued copper wire. Turn a wrapped loop at one end, attaching it to one of your handmade charms. Don’t make the wraps too bulky as you’ll be going back over them later!
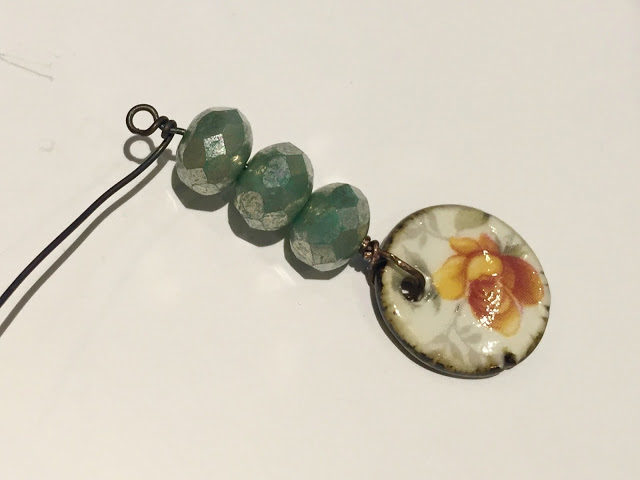
2. Slide on three 8x6mm glass rondelles onto the wire, and turn another wrapped loop, one mm or so above the top bead. Again, don’t make your wraps too bulky.
3. Guide your wire around the top rondelle to the right, and wrap beneath twice, in the same coiling direction that you have been working in already.
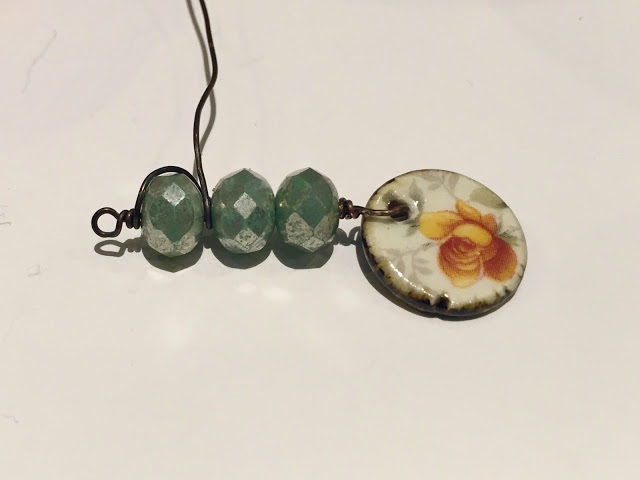
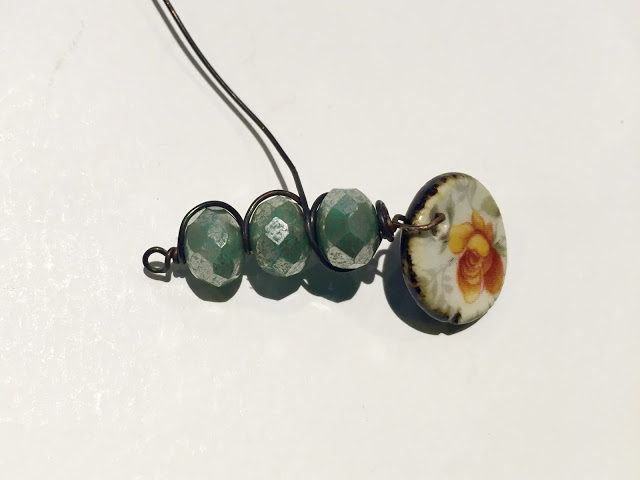
4. Repeat this process with the 2nd rondelle…
5. …and the third and lowest rondelle. Wrap your wire *over* the coils you made in step 1, and guide the wire up the left hand side of the lowest rondelle. Coil the wire above this rondelle and over the wraps you made previously.
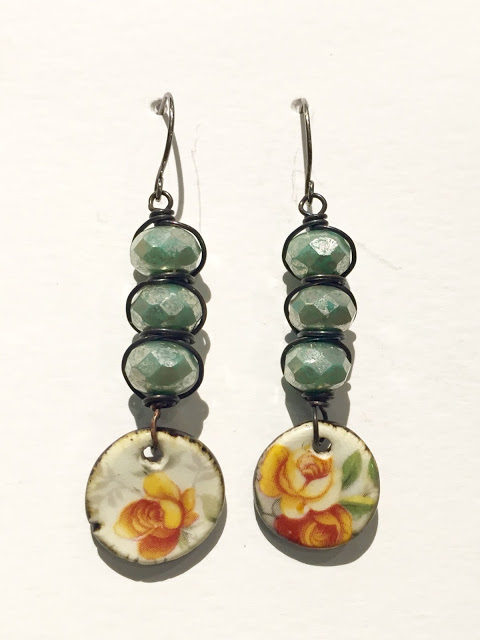
6. Repeat this process with the second and first rondelle, so that each one has a snug little wire ‘window’ around it. Repeat in full for second earring, and attach handmade earwires to complete.
And – ta-dah! – you have a sweet, quick-to-make earrings that are perfect for that last minute gift for a friend – or just for yourself!
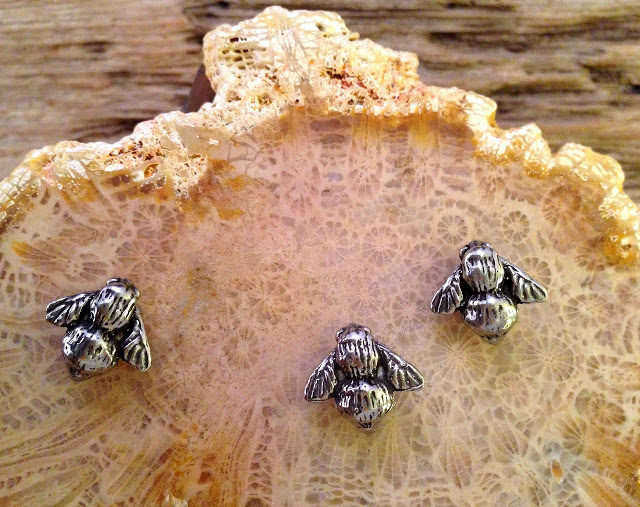
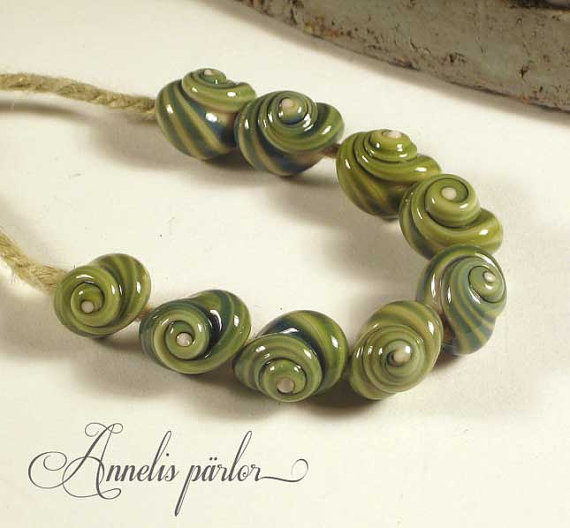
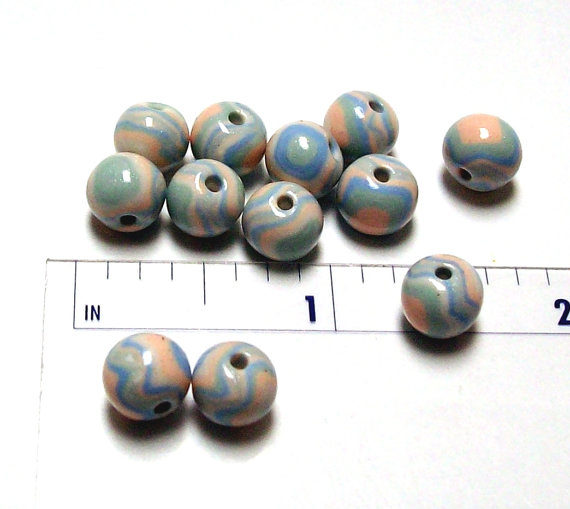
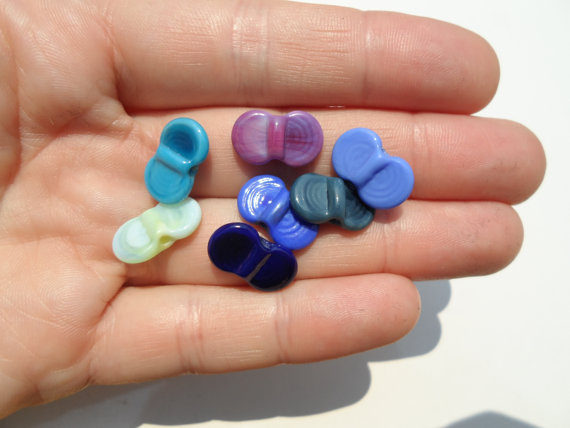
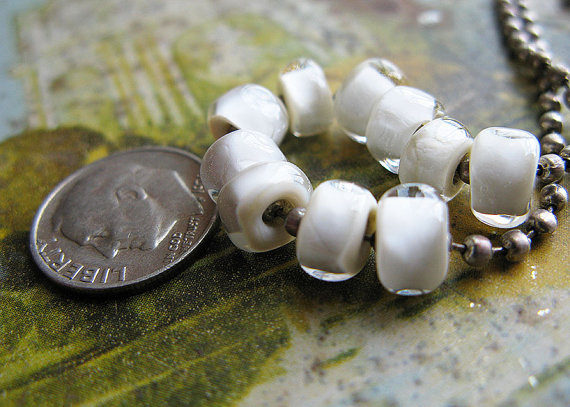
And now for your ‘tiny bead’ instalment of ‘Amuse the Muse’ for this week.
And now for the BeadBlogger Links. Have a restful week, if that’s possible!


Kirsten Jakobsen
December 16, 2015 at 1:20 pmCheating – yes! I have made a few pairs of earrings using just a hook and a charm from either Grubbi or Scorched Earth – perfect for work – and my new short-ish hair – but I do also feel a bit like a cheat, feeling I should do more, embellish more. …
The good thing is; you can do the simple solution one day, then split them apart and do more another time. The beauty of making jewellery – almost every single component is reusable!
Merry Christmas!
Kirsten