When we were thinking about buying our first house, I convinced my husband that we should focus on homes in the Clark Park neighborhood of our town. I told him that these homes were well-made, close to downtown and good schools, with property values that would keep appreciating nicely over time. So we bought our first little house in Clark Park. What I didn’t mention was that I really loved Clark Park for its cute Craftsman-style bungalows. I wanted to live life surrounded by the beauty of Arts and Crafts style.
William Morris’s work makes me happy. His aesthetic is elegant but deceptively simple, I think. From seemingly simple motifs he crafts rich designs from repeated patterns. But these motifs, I think, are a delight: modest, striking illustrations of birds and blossoms that capture the wonder of nature. Repeat.
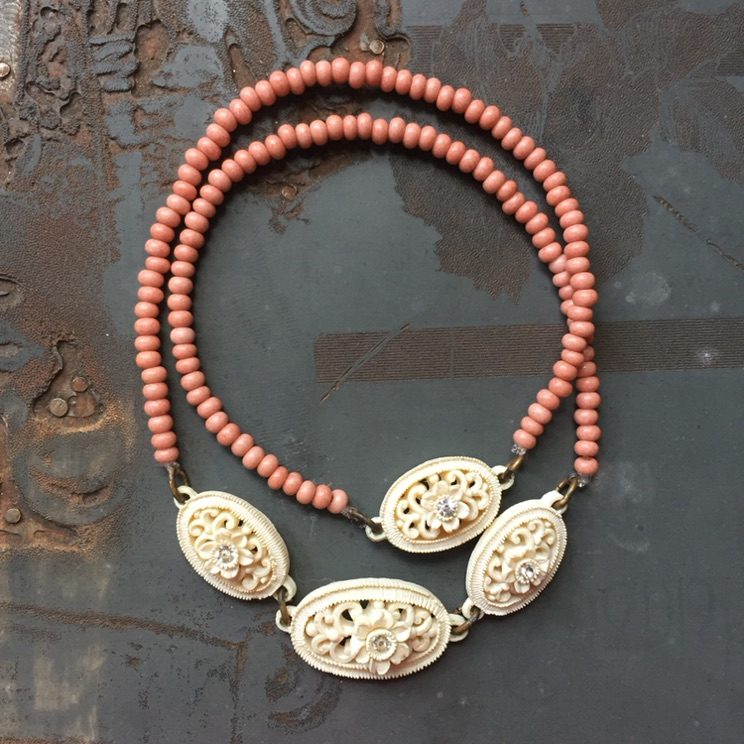
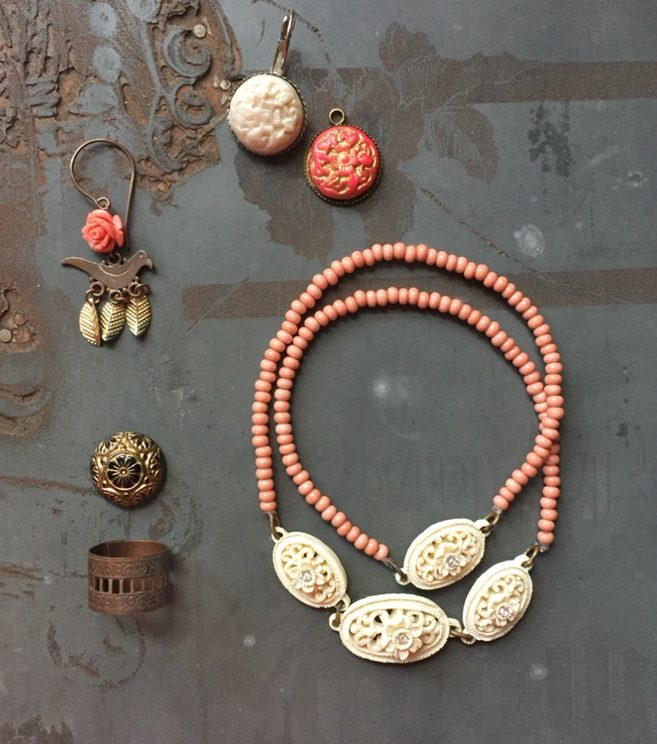
For this necklace I used cheyanne beads because they pull out the coral pink from Morris’s work. I get these from my favorite African Bead supplier Ebrima Sillah. Then I used a few links from a vintage necklace for a sweet floral motif. The piece is simple, and that’s the point: I wanted a spare design where a few, choice elements made an impact. Like Craftsman Style.
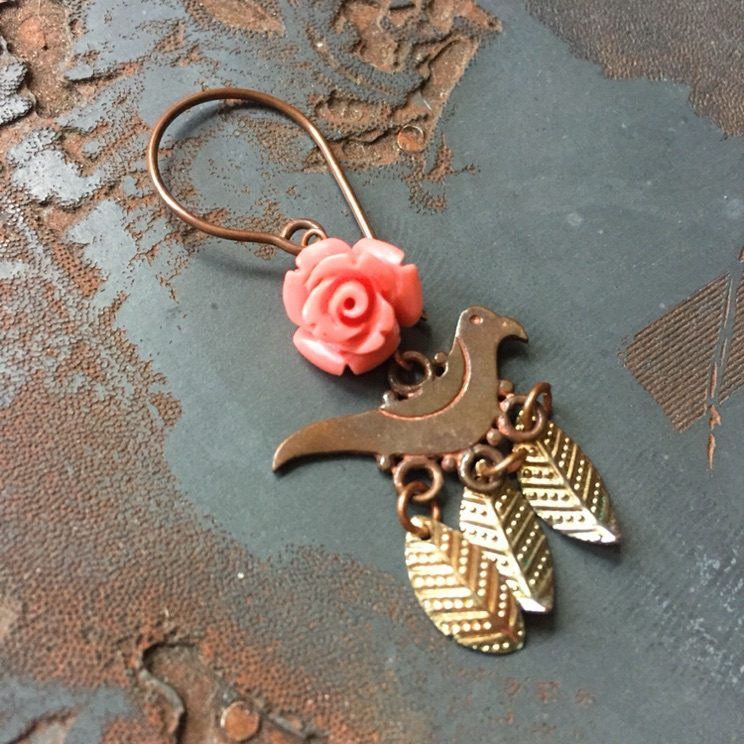
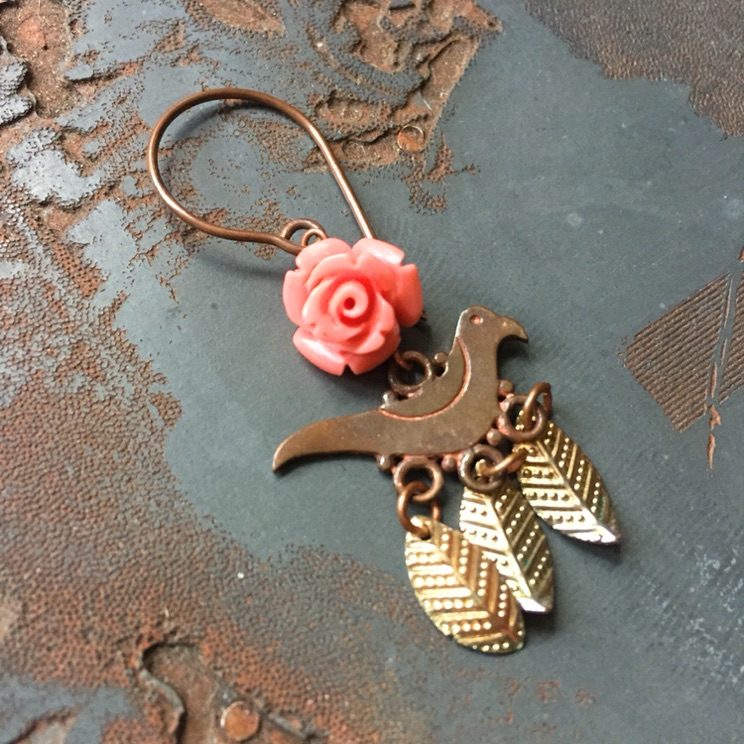
I love these earrings because they are at once Arts and Crafts with a little Frida Kahlo, and also very current. Vintage copper bird links and metal leaf dangle from estate sale earrings pair with a lucite rose bead.
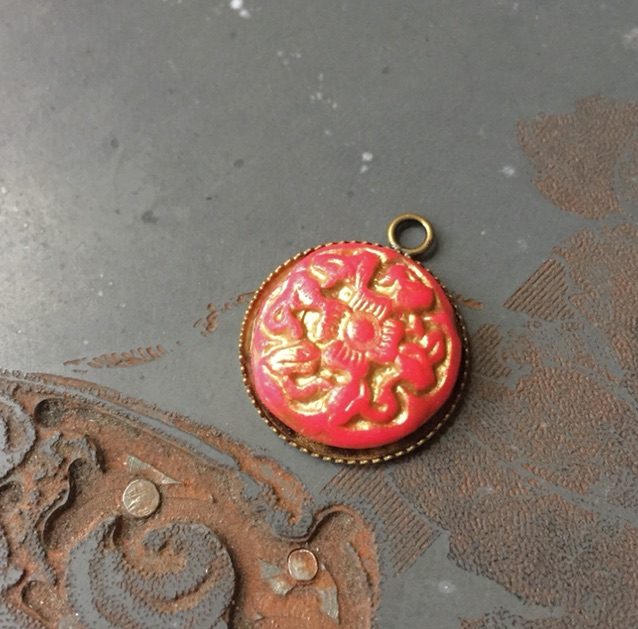
For years I have made polymer clay cabochons in small batches and used them in limited-edition jewelry lines in my shop. I felt this technique would be perfect for the William Morris challenge because these cabochons are simple and decorative just like Morris’s work. They’re fun to make, too, so I’m including the tutorial below. Enjoy!
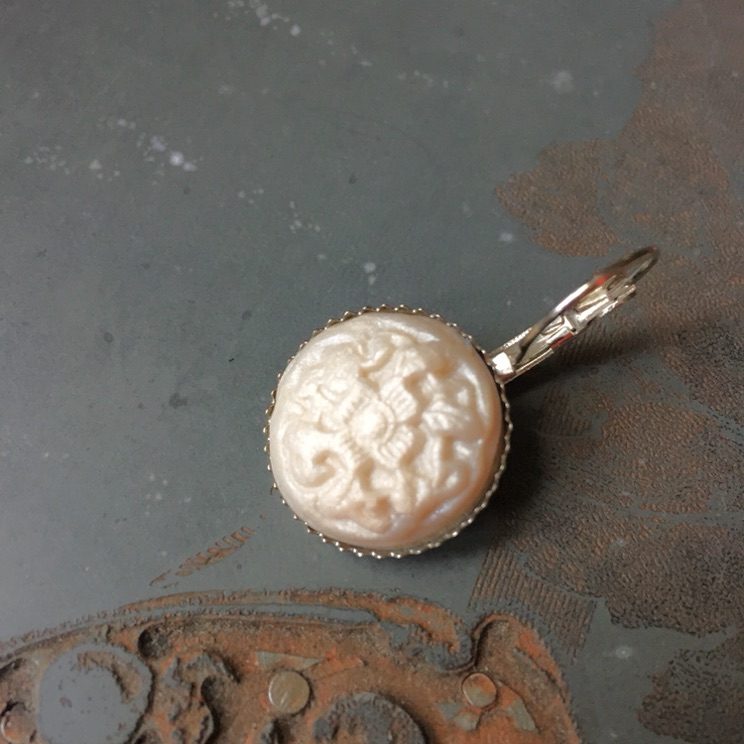
Clay Cabochon Tutorial
To make a button-sized cabochon, you will need: decorative button or bead to copy, a walnut-sized piece of “waste” polymer clay*, polymer clay to make your cabochon, oven + baking sheet, paint or nail polish for gilding (optional), clear nail polish for vanish (optional).
Choose a button or bead with a pretty pattern and clear relief work. High relief will be hard to work with so opt for a lower relief – that way you won’t have trouble releasing clay from the mold. I chose a faux cinnabar bead because I liked its symmetrical decoration.
- Warm up your waste clay by rolling it in your hands until it is easy to work with.
- Roll your waste clay into a ball and firmly press onto decorative button. (Make a deeper impression, if anything)
- Bake mold in oven according to manufacturer’s directions on package. Let cool.
- Roll your good clay into a small ball. There is a little trial and error to this step. Experiment to find the right size ball that lends the right sized cabochon.
- Press ball of clay into mold. You can spray your clay with water as a mold release.
- Bake mold in oven according to manufacturer’s directions on package.
- When cool, paint with paint or nail polish to gild (optional). Top with clear nail polish for a gloss finish (optional).
To adhere clay cabochon to metal bezel, I like to use Bead Fix from Beadalon, which you can find in the jewelry aisle of your craft store.
* Waste clay is just the junk scraps leftover from other projects. Not good for much else, I keep these scraps to make molds.
