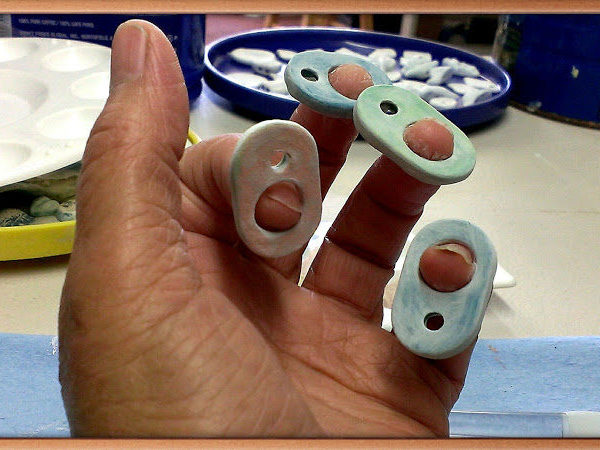
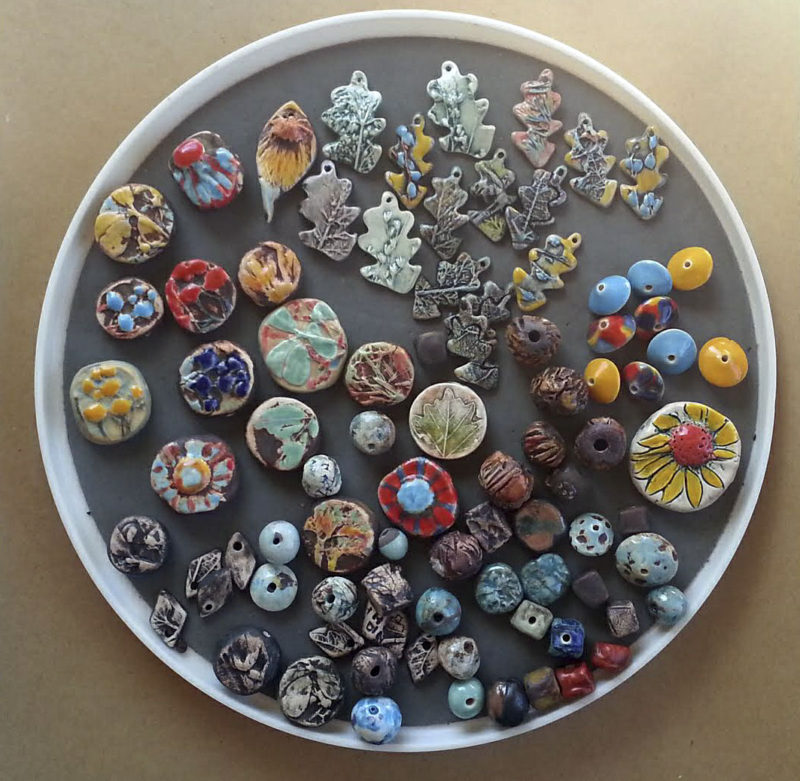
 Handmade stoneware ceramic beads by Mary Harding for a free form peyote stitch beading class
I believe that the last time I wrote an Inside the Studio post it was winter. What a difference warm weather makes. I have been in the studio mega hours, most recently making beads and preparing to teach a free form peyote stitch beading class. What fun!! I love warm weather and so does my muse. The above plate of beads was made for my students to choose from. The focals are made from stoneware ceramic clay and many of them are two sided beads with different plant images on both sides. I believe I chose my favorite side for this picture. The smaller beads are also stoneware– a few are earthenware and raku fired. Since the model necklace had one focal and 2 smaller beads and a charm that is how I set this up. But other options were certainly encouraged. The class was last week at the Thousands Islands Art Center in Clayton, New York on a very hot Friday. But we were cool and hard working inside the museum with air conditioning. So hard working we did not think to stop for lunch until 2:20 PM. And on we went for a whole day: 10:00 AM to 4:30 PM. And barely finished.
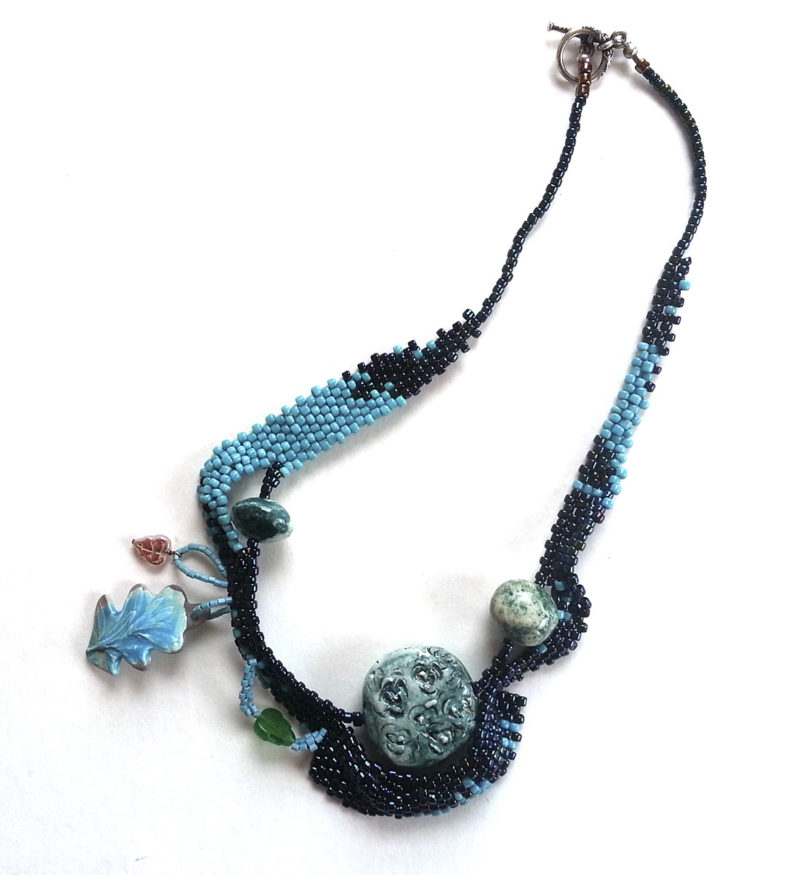
This was the necklace, made by me, that I chose to use as a model for the class.
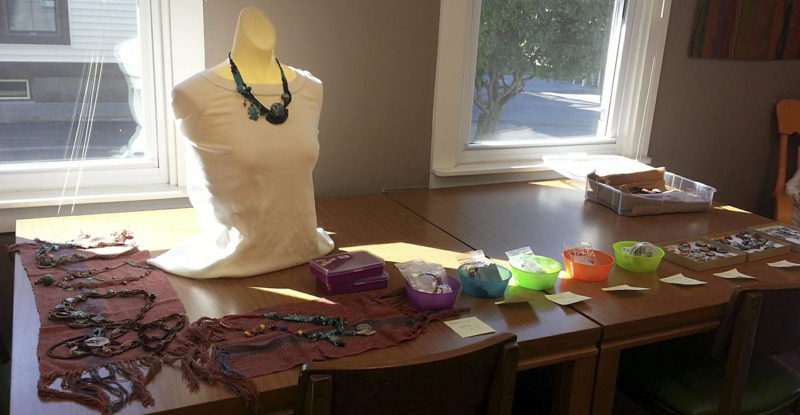
I set up a table (see photo below) with examples of some of my peyote necklace and little bowls of the supplies the students would need. I separated out the handmade beads into focal beads and smaller beads and charms.
And SEED BEADS.
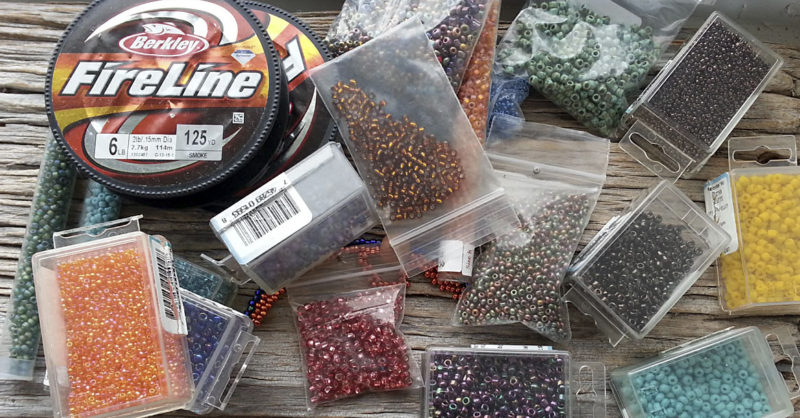
Selection of seed beads students could choose from ( actually many more were available)
Students collected their supplies in a little kit box they would take home with them.
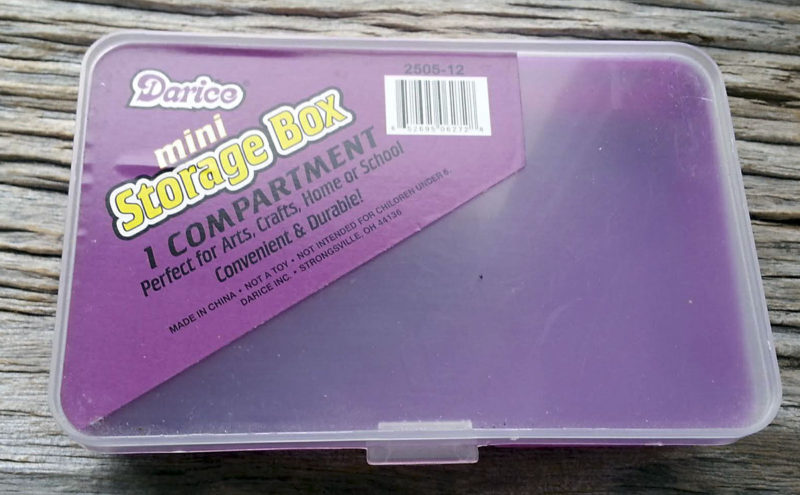
Take Home box students collected their supplies and seeds beads in
After they made their choices, we spent quite a bit of time learning how to do peyote stitch, how to pass through a large bead, and how to make a bridge (loop) around the larger beads. I crimped together a strand of seed beads and a larger bead with a package of contrasting colored beads to give students a structured experience to learn how to do peyote stitch and how to handle the unexpected situations when free form peyote stitch requires innovation to make it work. Students found this exercise quite helpful when it came to making their necklaces.
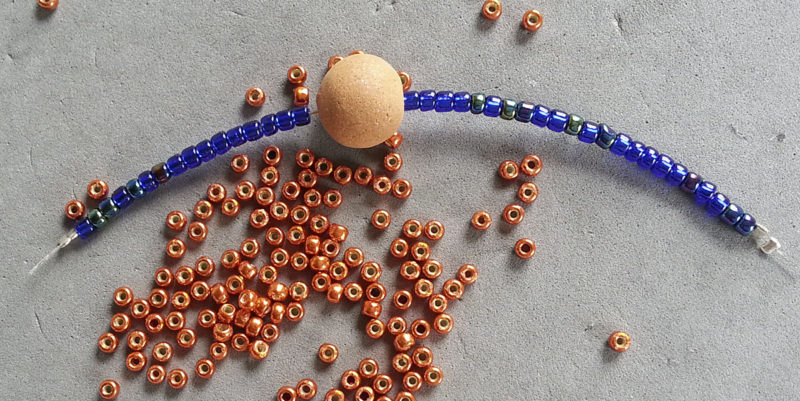
Strand of beads made for practice learning the peyote stitch
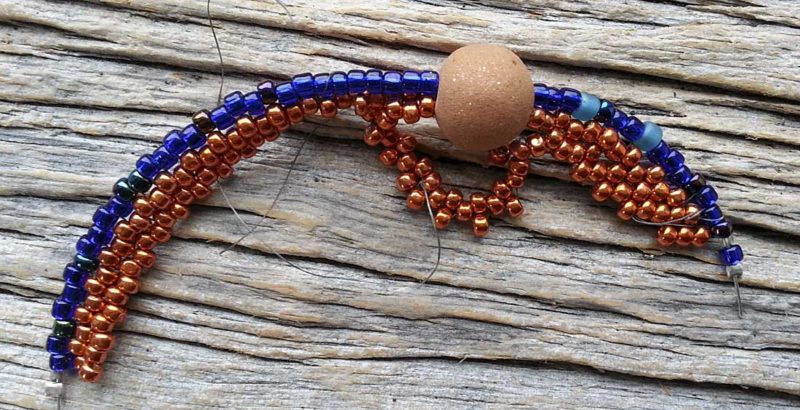
the practice piece stitched
Once we started on the necklaces, students were over the somewhat difficult learning curve and they relaxed. It was then that their creativity kicked in. That is what I was hoping for when I wrote up the directions for the class. It was wonderful for me to see my handmade beads transformed by their hand work. This was my first time teaching this class with my handmade focals, charms and smaller beads. I think I was as excited as they were with their progress and creations.
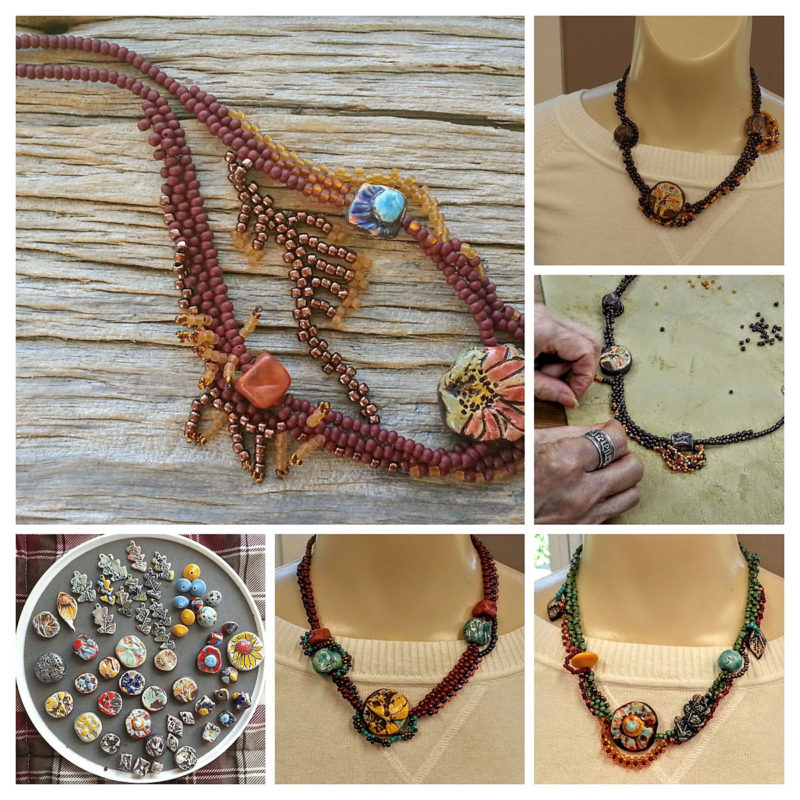
Some pictures from my peyote stitch necklace class featuring several finished necklaces, an in progress pic, and the handmade beads we used to make them.
Thank you so much for reading my blog post today. I certainly appreciate your company along our journey with artist handmade beads.
Mary
PS I am having a surprise giveaway of 3 of the beads like the ones in the tray above. Please leave a comment about what you think of chunky beads and how you might used them in your work. All comments will be automatically entered into the draw by Random Number.org. Please include a way of being contacted . Winner will be announced next Friday August 3, 2018. I am changing the date to Sunday August 5, 2018. And since I have heard from folks that they are having problems leaving a comment on the blog so they left one on Facebook, I will be pulling names from a hat instead of using the Random Number.org.

