POW!
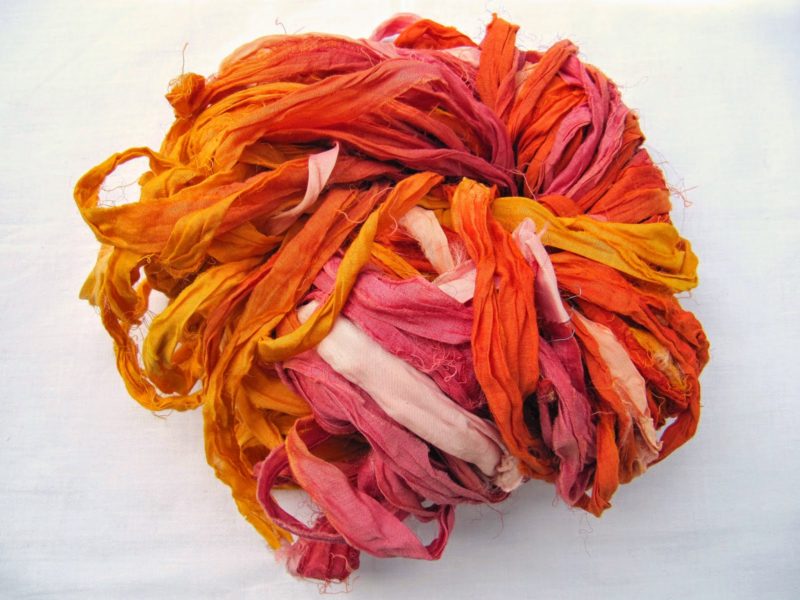
Don’t you love these colours? I do. I adore this mix of tropical, juicy, fruity pinks, yellows, oranges and reds. I picked up this bundle of sari silk recently and I knew straight away that I wanted to use it with some silk rods that I’ve had in my stash for a while. My pack is now a bit depleted, so here’s a sample image, in case you’re unsure what I’m talking about.
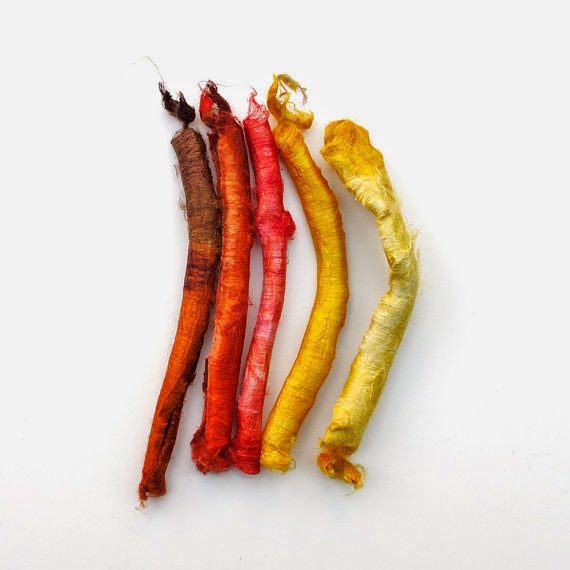
This shop has a good range of these rods (also known as silk carrier rods) in a variety of colours, so if you’re interested in following this tutorial, this would be a good place to look. I knew how I wanted to combine the silks and rods and realised it would be a good design to show off a pendant, and I had the perfect one in my stash.
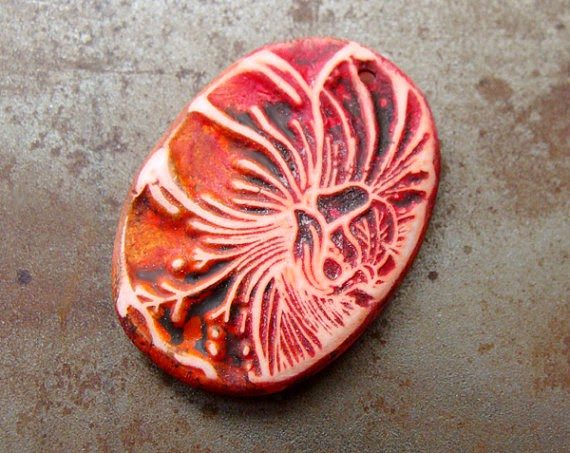
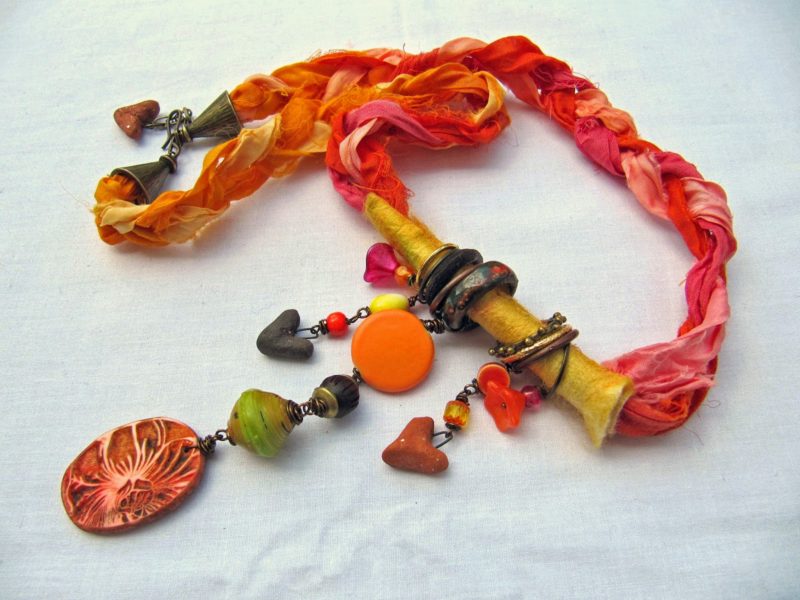
I’ve been hoarding this Humble Beads lovely for some time. So what did I make?
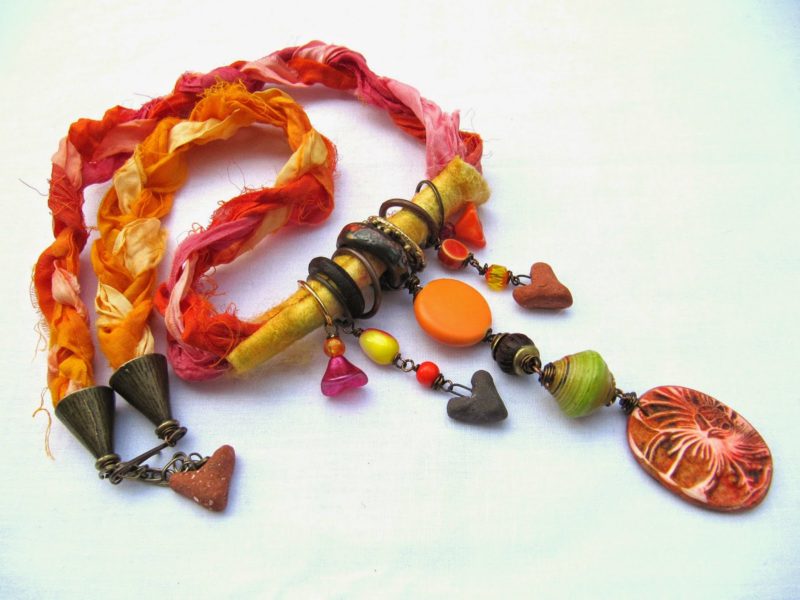
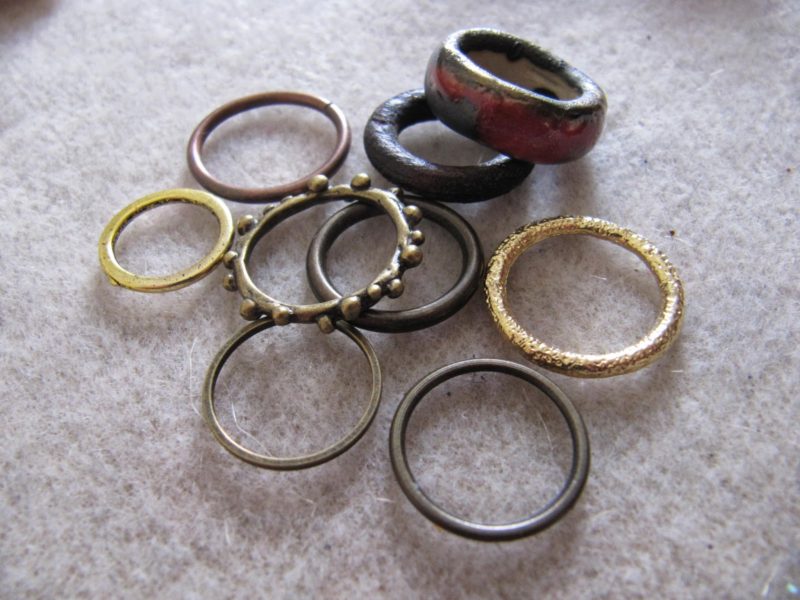
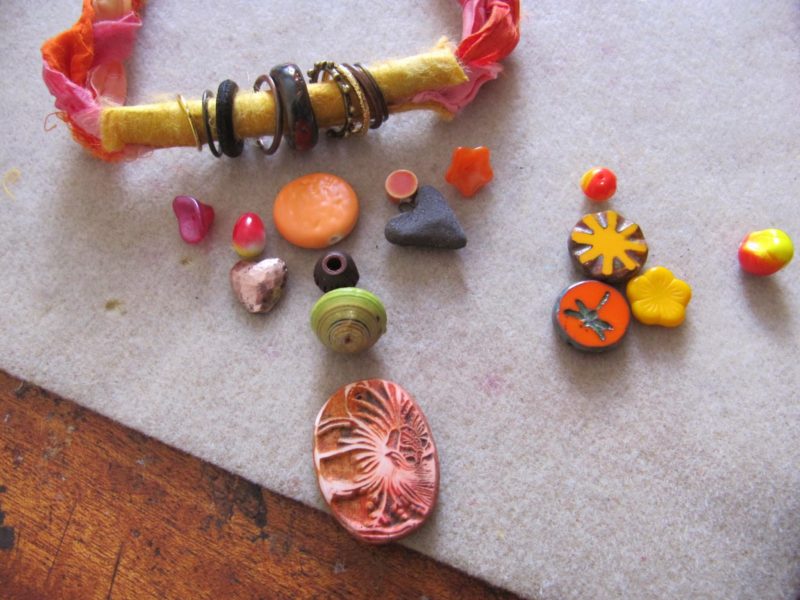
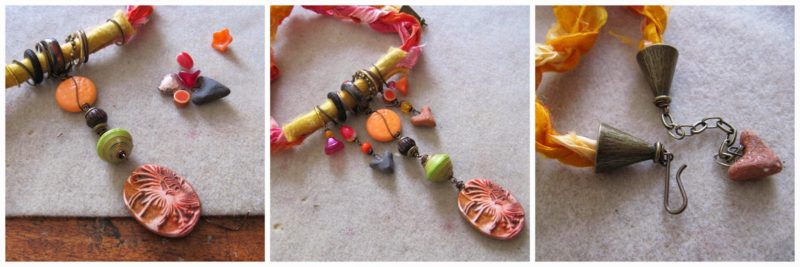
Aside from the rod, ribbon and focal, you’ll need a selection of toning beads to form the drops hanging from the rod. There are no hard and fast rules on what you use here – it’s a good opportunity to use up some of those leftover beads you’re likely to have. I’ve used a mix of czech glass, with a couple of ceramic beads, some wood, a paper bead and a couple of heart charms from Scorched Earth. You’ll also need some 22 gauge / 0.6mm and 26 gauge / 0.4mm wire – I’ve used antique brass but you could go with a different finish if you prefer or it suits your colour mix. To finish the necklace you’ll need a pair of cone end caps and a clasp (I’ve used a hook clasp with an extender chain, but again, you can choose what you like here). Finally you’ll need a selection of hoops that are large enough to slide onto your silk rod. The greater the variety of finishes and textures here, the better. I’ve used mainly plated metal rings in warm metallics, but I mixed in a wooden hoop and a ceramic ring (again from Scorched Earth).
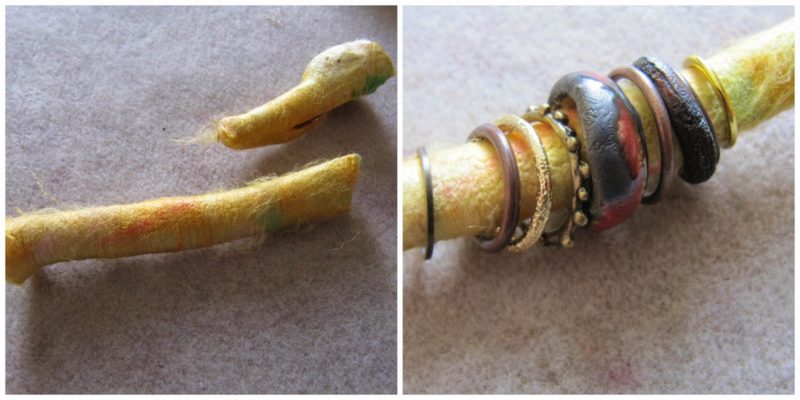
To start making your necklace, it’s likely that you’ll want to trim down your silk rod to a shorter length. This can be done with a sharp pair of scissors or cutters. Slide your rings onto the rod, graduating the sizes so that the largest is in the middle and the smallest on the outer sides.
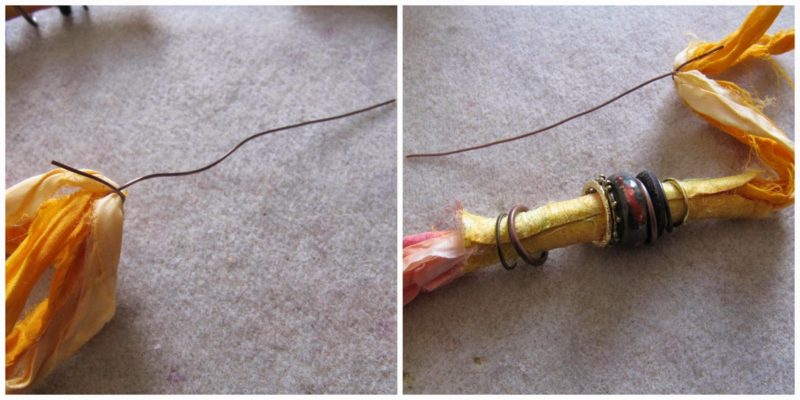
Cut three equal lengths of sari silk and thread them through the rod. You may find it easier if you use a piece of spare wire as a needle to help you here. Position your rod at the centre of your lengths of silk.
Take the ribbons on one side of the rod and plait them together loosely. Take about 12cm of 26 gauge wire and bind the ends of your plaited ribbon tightly. Trim your ribbon ends down to about 10mm from your wire. (You may want to use some Hypo Cement here to ensure the end is secure.) Then take 12cm of 22 gauge wire and wrap one end over the 26 gauge wraps. Once it is fixed there, thread on an end cone and make a wrapped loop. Repeat these steps on the other side of the necklace.
You now need to plan your beaded dangles to surround the focal.
This requires a little bit of playing around. I tend to lean towards asymmetrical designs, which are a little trickier to balance. If you prefer you could make the dangles symmetrical. I haven’t hung beads from every ring. You could try that if you really want to go to town. Once you have them planned begin to connect the beads with 22 gauge wire. I’ve used plenty of wire when connecting the beads, making mainly chunky, rustic wraps. Making the wire conspicuous will bring an element of cohesion if you are doing an asymmetrical arrangement.
Finish by attaching a clasp and, if you wish, extension chain, to the loops at the cone ends. As you can see, I’ve added a final little charm as a finishing touch.
There’s lots of opportunity here for varying the design of the necklace. Whether you follow the tutorial closely or use it as a starting point for a different design, I hope you’ll feel inspired to try mixing these different fibres into your art bead pieces.
Bye for now, Claire

