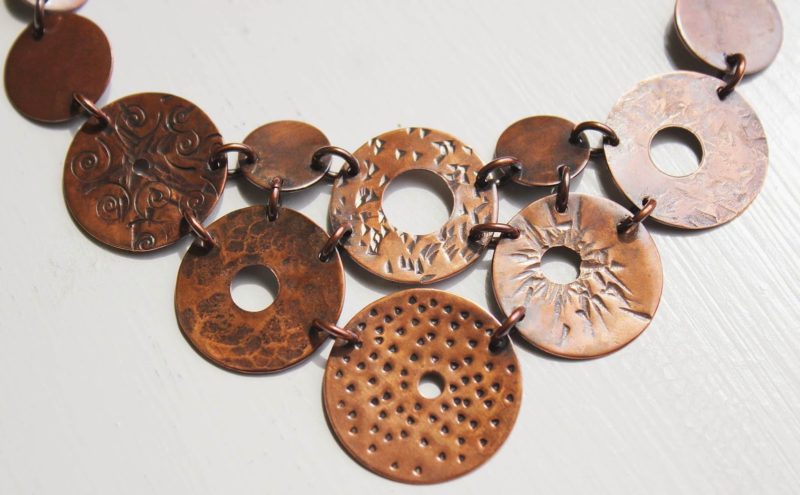
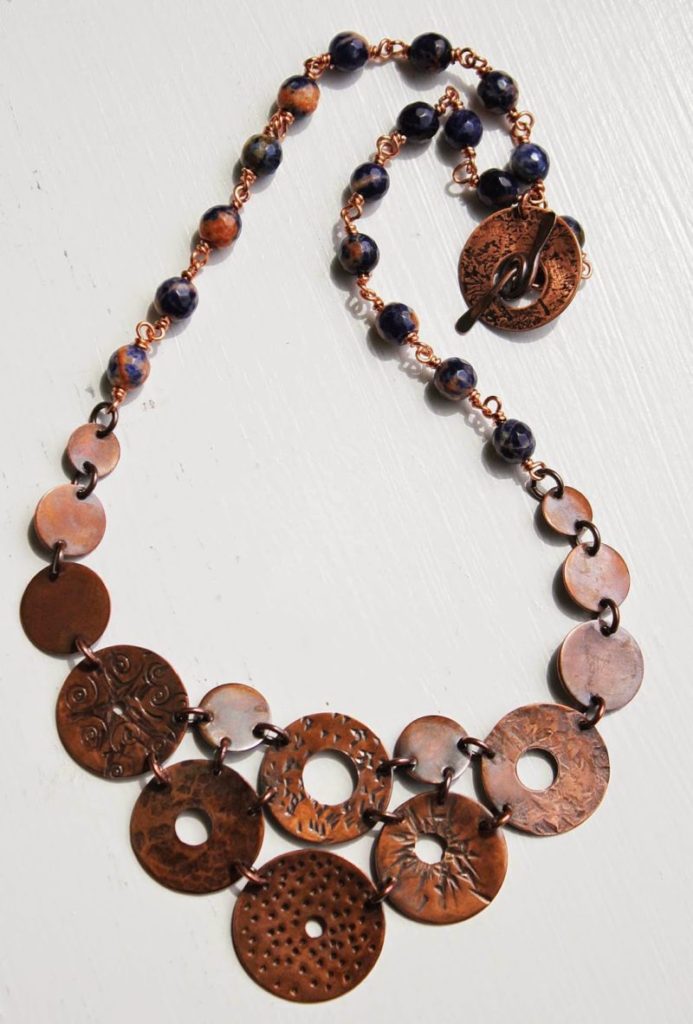
Hello Art Beaders. I’ve been continuing to work with discs and washers in my designs. I’ve been adding various textures to the discs and thought it would be fun to create a necklace to incorporate the variety of textures. Today I’m sharing a necklace tutorial using the discs and washers.
Materials:
varying sizes discs and washers:
1 – 1 inch washer
5 – 3/4 inch washers
2 – 5/8 inch discs
4 – 1/2 inch discs
2 – 3/8 inch discs
20 – 6 mm (outside diameter), 16 gauge jumprings
18 – 8 mm jasper beads
18 – 2.5 inch, 20 gauge copper wire
Toggle clasp
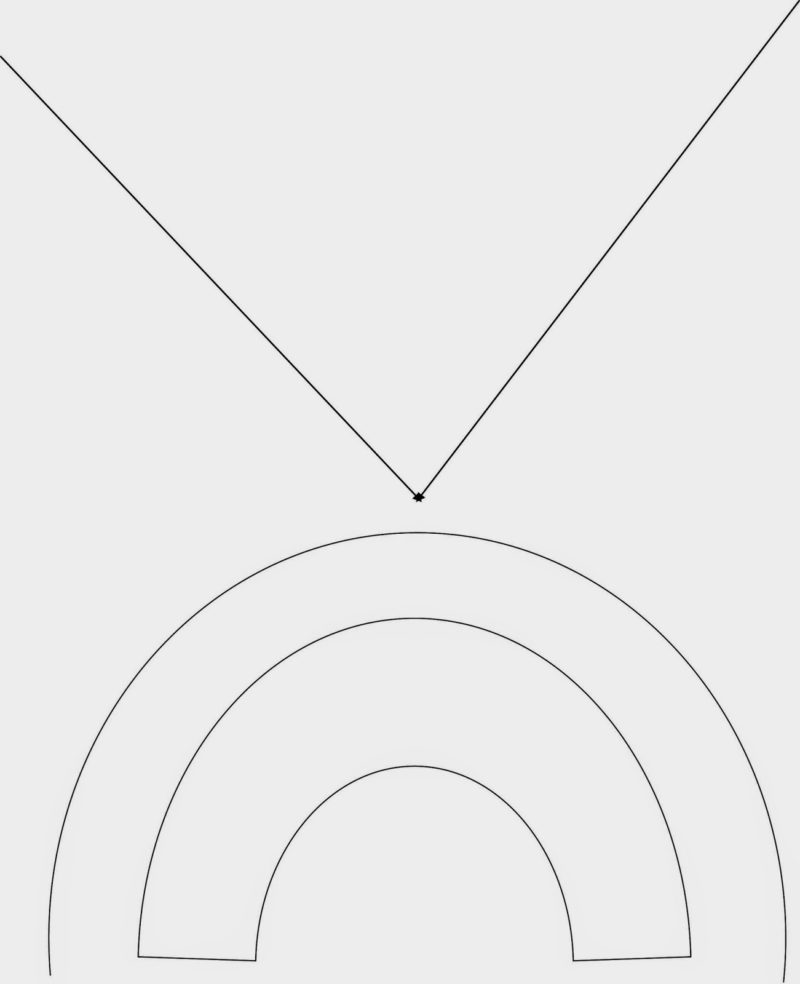
I ran into a bit of a design dilemma when figuring out how to attach the discs and washers together. I wanted symmetry in the design and felt it was important that the off-center washers curved perfectly. I used my Word program to create a few different curve templates and a v-shaped template to help me acheive symmetry in the layout.
Try as I might to be technically savy I’m usually just winging it. I couldn’t figure out how to get the original size document from my Word program to the blog. I’m not sure if saving the photo above will be the correct size for the tutorial. If you’d like this pattern guide in it’s original format you’ll have to hop on over to my FB page and save or print from there.
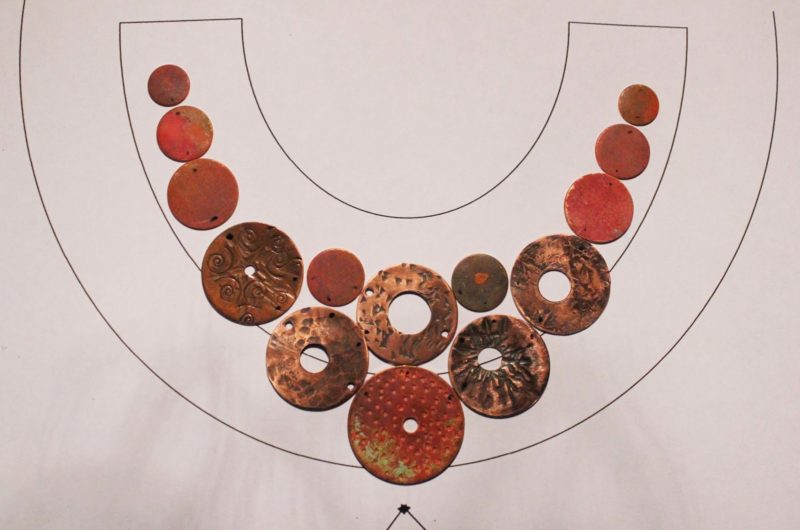
Align the discs on the template. As you can see I opted for the curved template. At each point where a disc/washer touches another disc/washer will be where we’ll attach the disc/washer using a jumpring. We will be punching holes in the discs where needed.
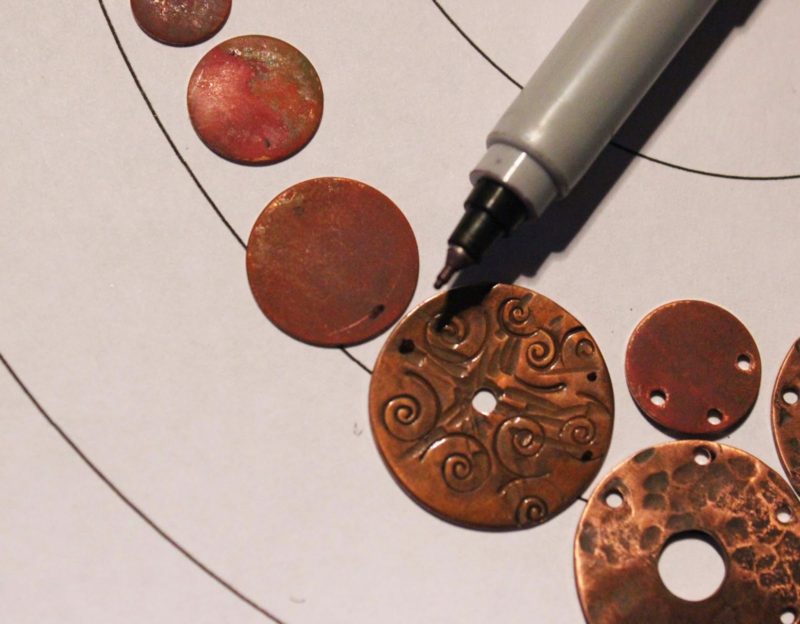
Use a permanent marker to mark each point where a disc/washer touches another disc/washer.
This part is a bit persnickety. I find it helpful to hold the disc being marked. The pieces want to slide around on the paper and we want to be fairly precise so the necklace will be even and hang nicely.
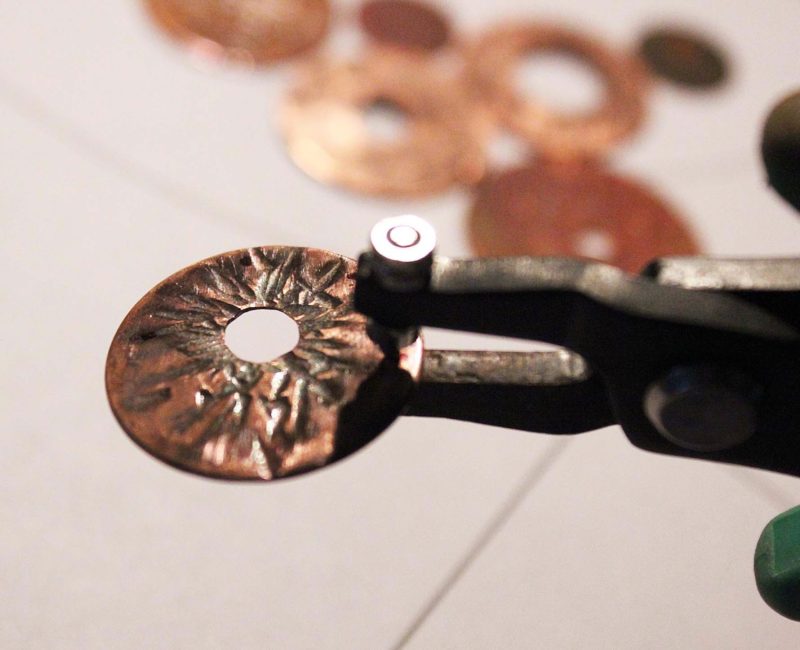
Use 1.5 mm hole punching pliers to punch the jumpring holes.
Hole punching pliers can cause burs or ragged edges on the reverse side of the hole. You can use the hole punching pliers to reverse punch the hole, use a drill bit slightly larger than the hole, or a rotarty tumbler to remove ragged edges.
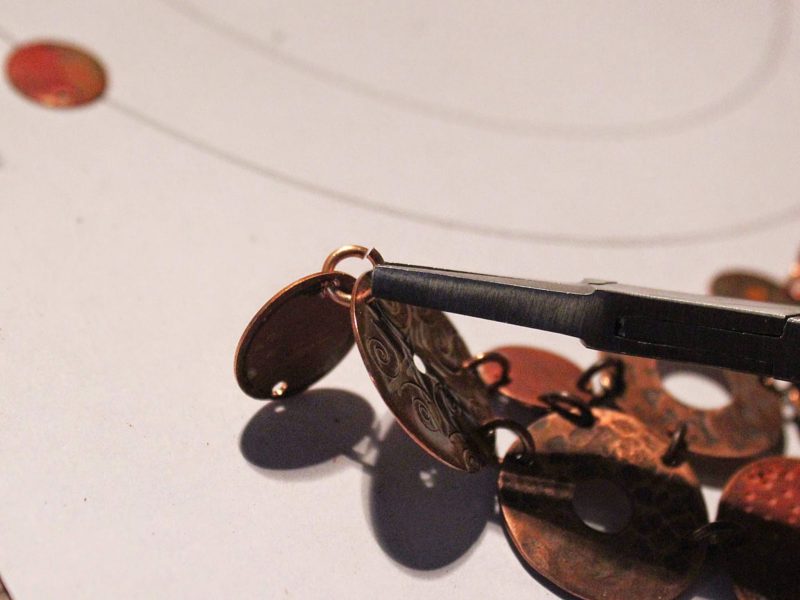
Using the jumprings, attach each disc/washer to its’ neighboring discs/washers.
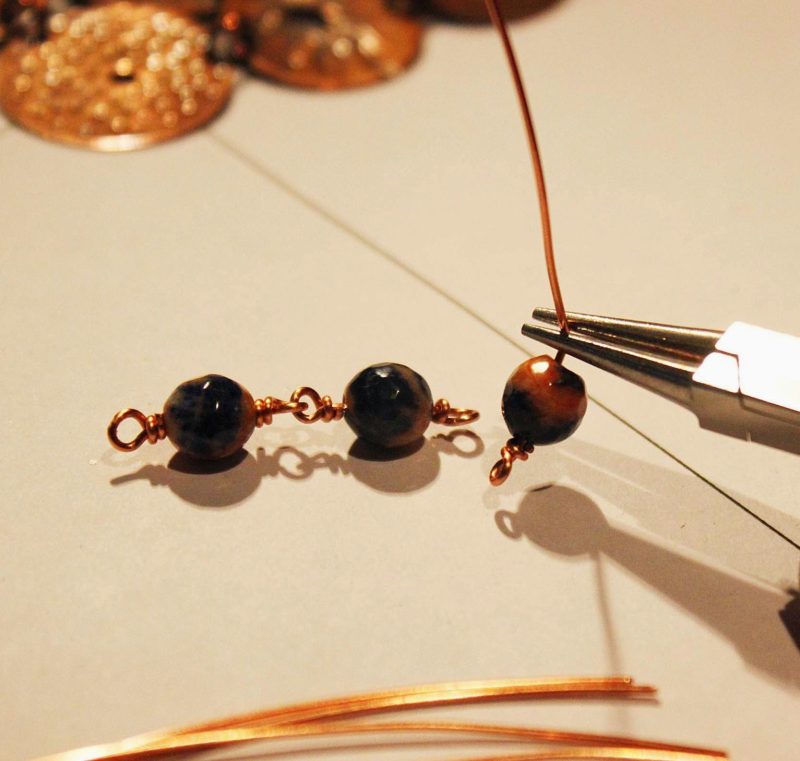
Using the 20 gauge wire and the jasper stones to create a chain by wire wrapping the stones together.
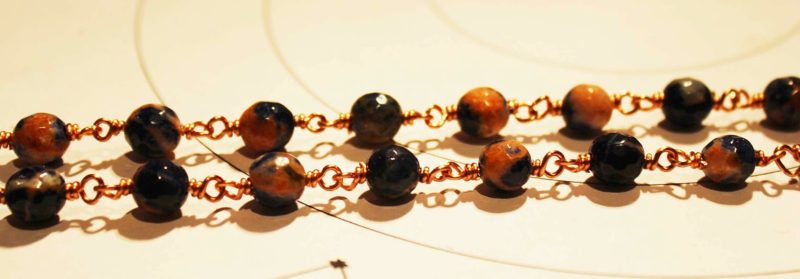
Create 2 separate chains of 9 stones each.
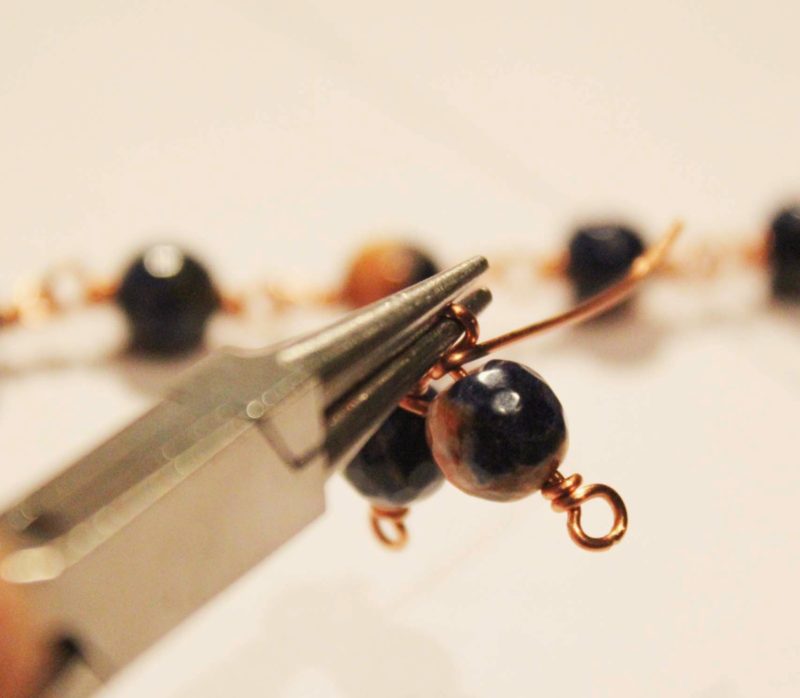
Two separate chains.
Attach a chain to one side of the disc/washer portion of the necklace. Repeat on the other side.
Attach your clasp to the other end of the two chains accordingly.
For those of you interested in metal working I have a tutorial on Craftsy on How to Use a Disc Cutter. Click the link to find a matching washer bracelet.
For those interested in purchasing discs or washers I have a batch in progress. I’ll be updating my Etsy shop by the end of the week.
Thanks so much for visiting ABS today. I hope you’ve enjoyed the tutorial.
What do you think? Do you use washers in your jewelry designs? Share with us how you incorporate washers into your jewelry designs.

