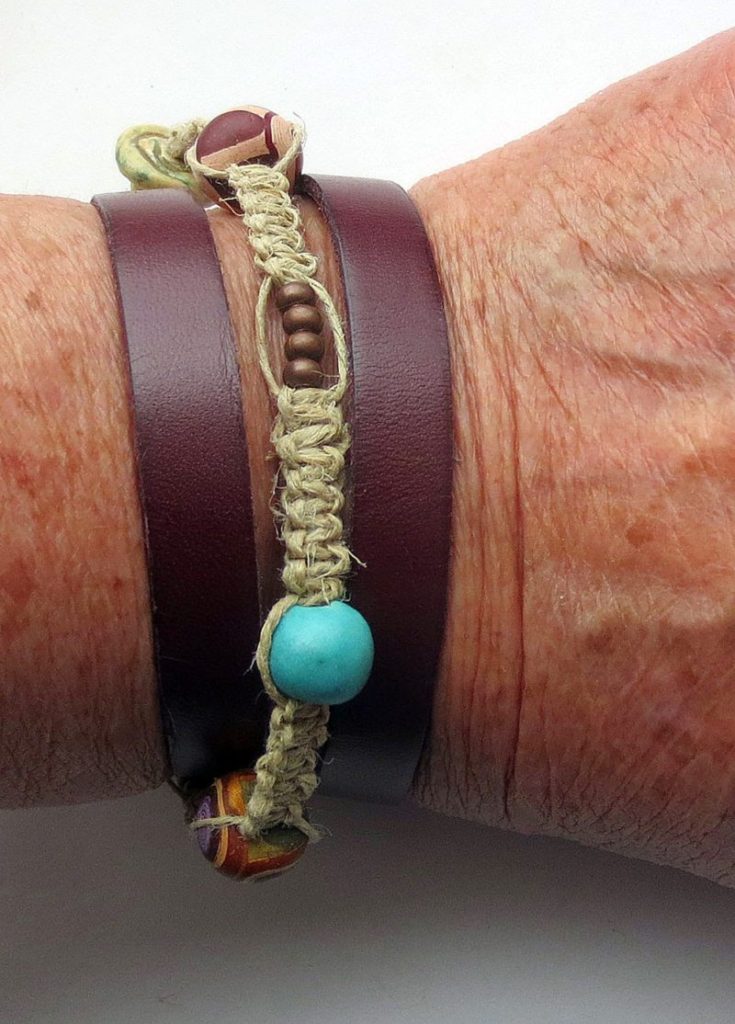
Leather and Macrame Bracelet Wrap by Mary Harding
Although I haven’t done much macrame in the last 10-15 years, it was one of my favorite ways of beading when I first started making jewelry. I give macrame credit for sending me in the direction of making ceramic beads when I could not find beads with large enough holes for my hemp macrame cord.
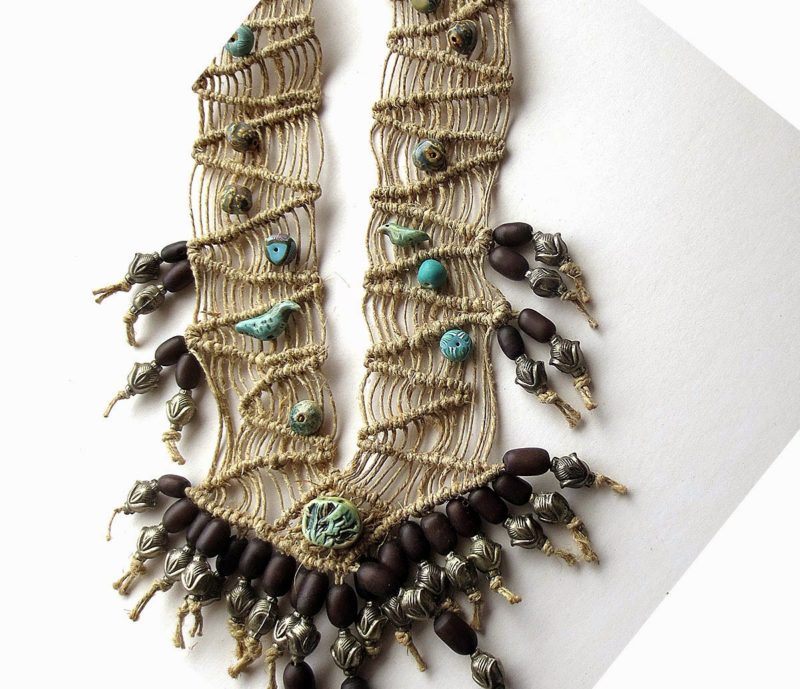
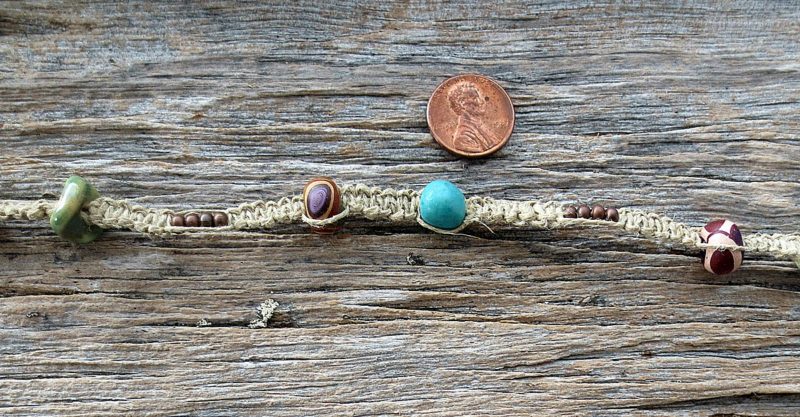
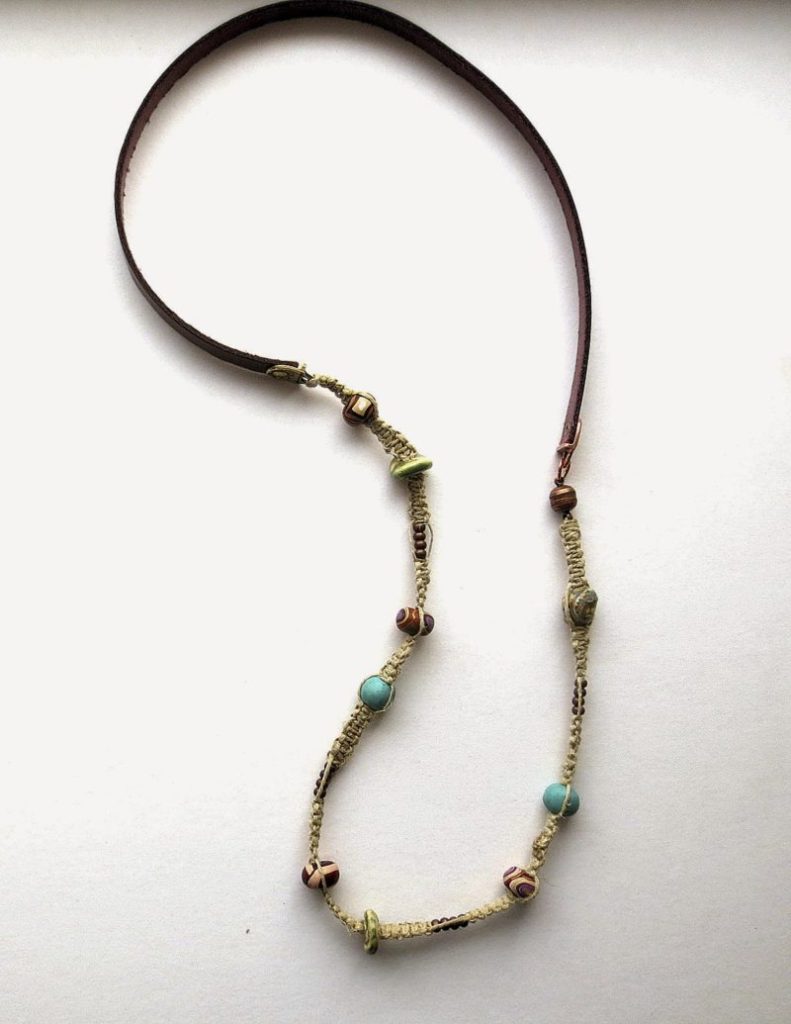
Macrame necklace with added art beads
Although this original macrame necklace I make some time ago has no art beads, I lay some out on it to show how well they go with the hemp and with macrame designs in general. Art beads pictured include beads by Humblebeads, NKP Designs and Mary Harding Jewelry.
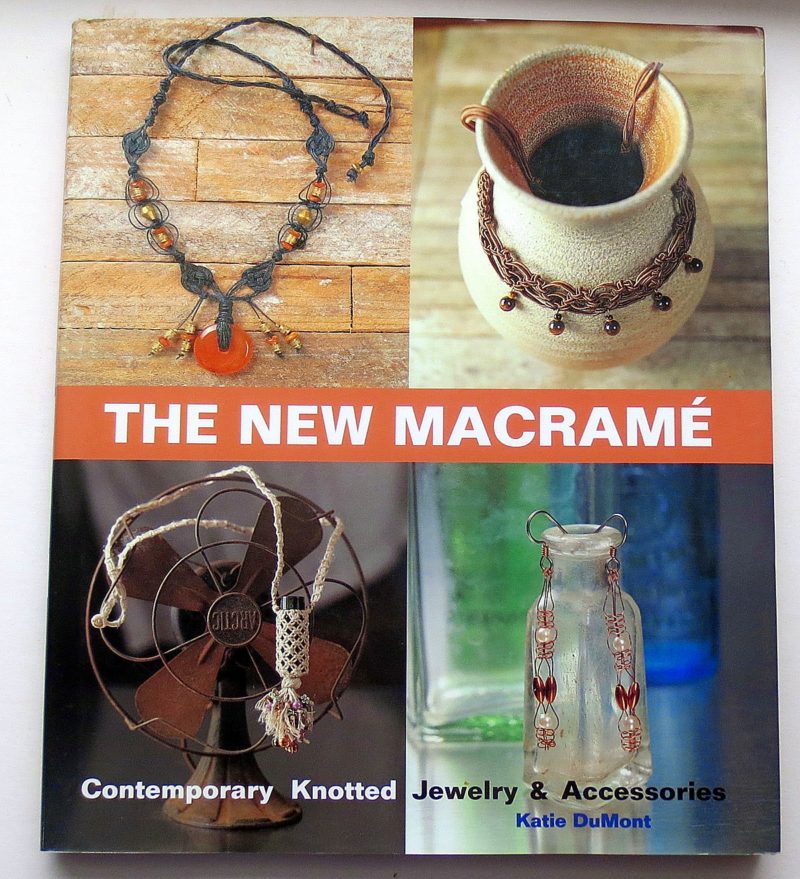
For today’s tutorial I had to brush up on the basic square knot and how to figure out how long a cord to begin with. My first attempt ran a bit short!! I still have my book, The New Macrame which gives excellent directions for making the knots and has lots of great projects.
The New Macrame by Katie DuMont
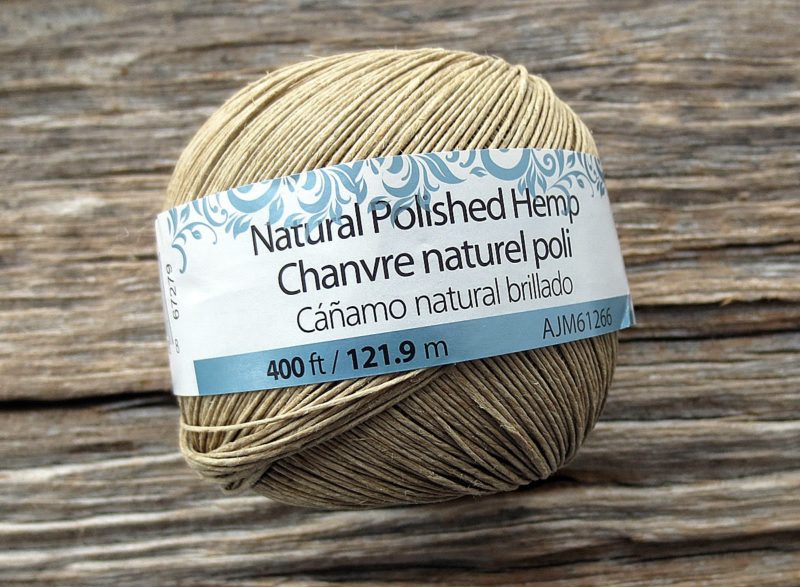
For our project you are going to need some hemp cord.
Hemp cord very thin.
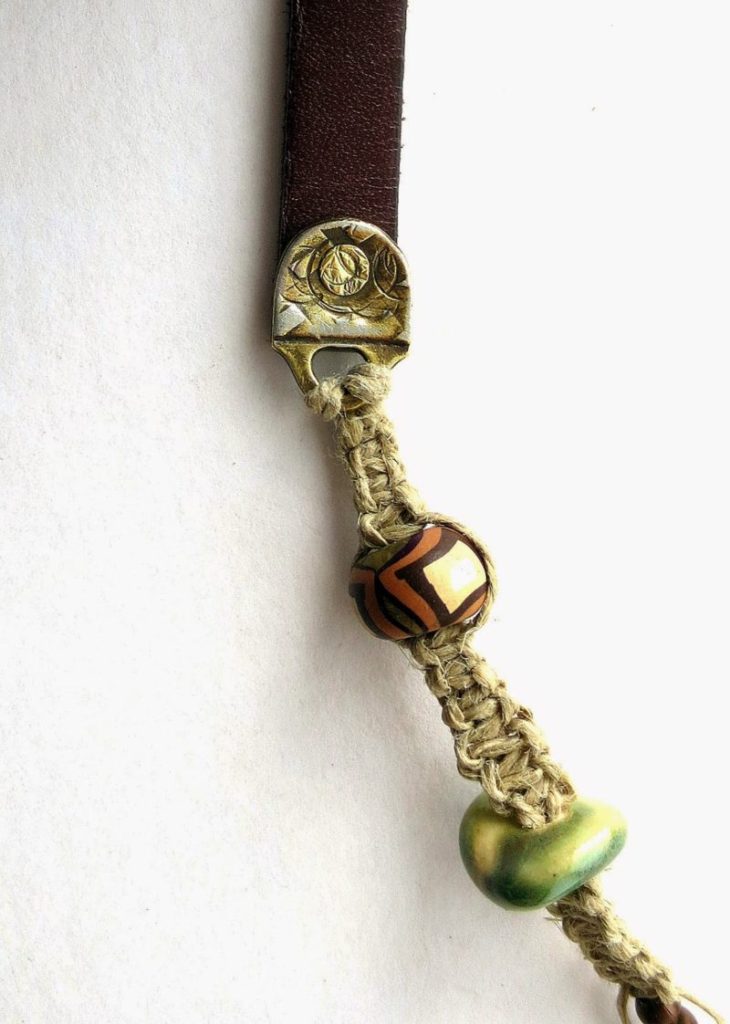
I chose the thinnest one I could find at Walmart in their craft section, and I still had to enlarge some of the holes in Heather Power’s beads. Since my leather is only 10mm wide I wanted to keep the macrame part of the bracelet about the same size and that was the best option easily available. I really like how it works up and the color.
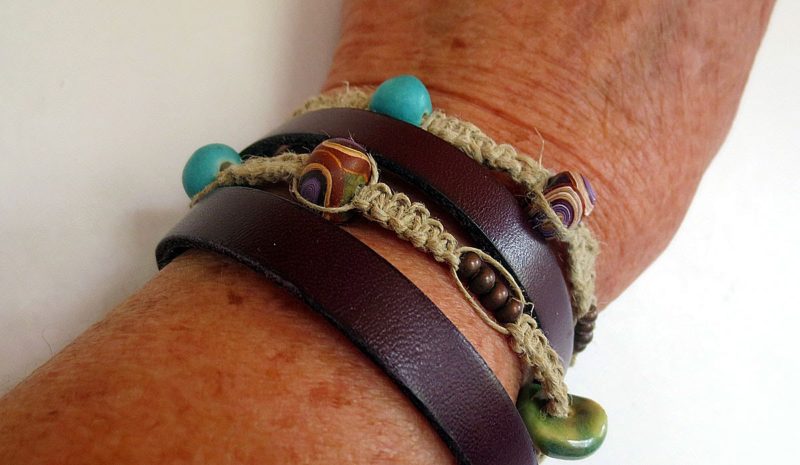
The directions below are for a long version of this bracelet. You can use the formula below to decide on a shorter version as seen in the picture at the beginning of this post.
Long versions of the Art Beads, Macrame and Leather Wrist Wrap–measures about 29 1/2 inches. The shorter version is 21 1/2 inches. Both are made with 14 inches of 10mm leather.
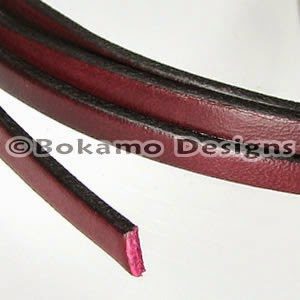
You will also need about 14 inches of 10mm flat leather cord. I chose burgundy but it comes in lots of different colors. I got mine from Bokamo Designs. 10 mm flat leather cord is readily available on Etsy and at many beading shops, as well.
Burgundy 10mm flat leather
I used 2 Tierra Cast Rock and Roll strap tips: one brass and one copper; and two Tierra cast compression rivets (4mm) made to fit them–again from Bokamo Designs–but these are also available on Etsy and at many bead shops.
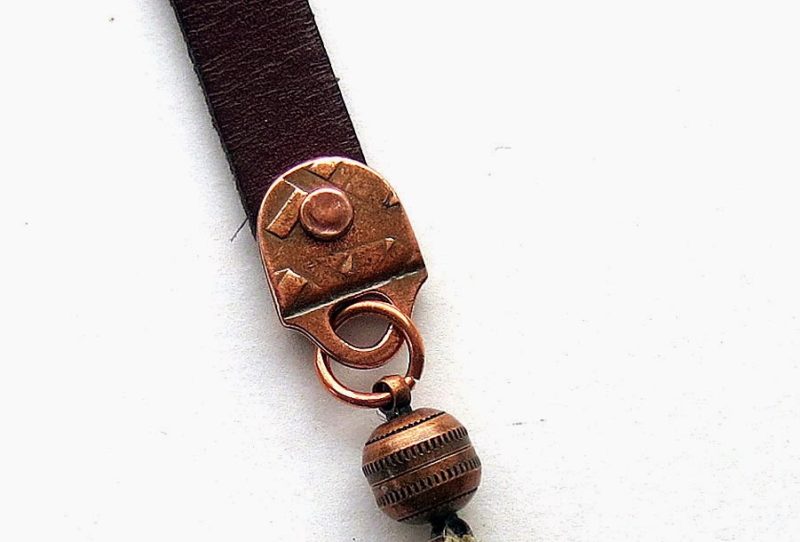
I used a small magnetic clasp from Ornamentea which I attached to one of the strap tips with a 5mm jump ring and then macramed in the other half of the clasp at the end.
For the beads, I used quite small art beads from Humblebeads; small ceramic beads that I made, and some copper seed beads.
For a second bracelet that I plan to make, I have some small ceramic beads from NKP designs and Humblebeads that I plan to use.
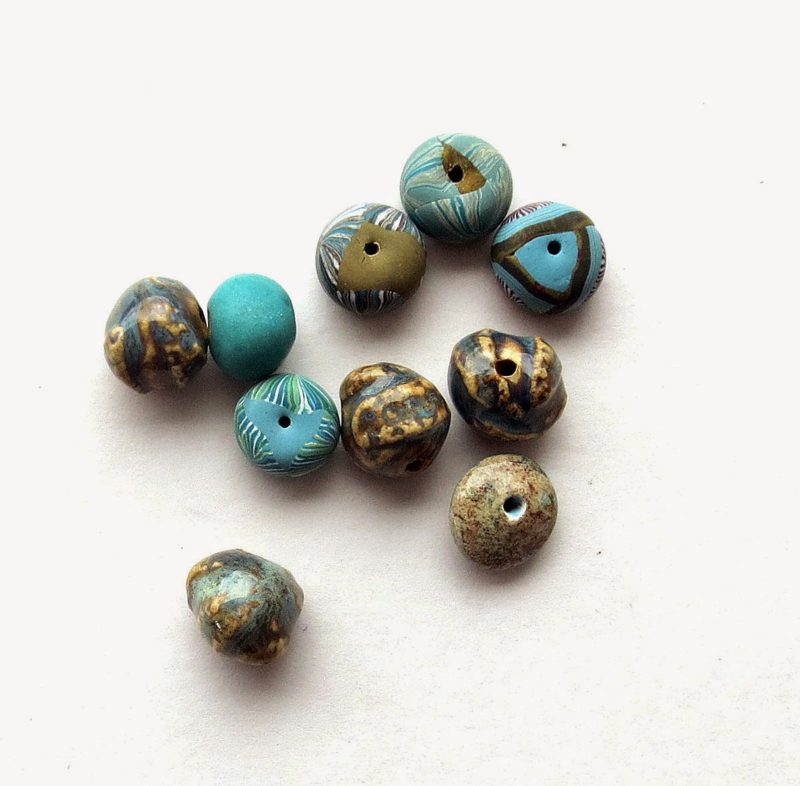
Art Beads for a wrapped leather and macrame bracelet: beads with the light tan sprigs are by NKP Designs; the turquoise and green beads are by Humblebeads and the brown disk bead and round solid turquoise bead are by Mary Harding.
Tools you will need:
Rivet setter
bench block
leather hole punch
2 pairs of chain nose pliers to adjust jump rings
Bead Reamer with diamond tips
Directions for the Macrame and Leather Bracelet Wrap
.
1. Rivet a strap tips to each end of your 14 inch flat leather. Full video instructions from You Tube for setting the rivets on this size flat leather: ( see instructions here) .
2. Measure out your hemp cord. The rule of thumb is 8 times the length of your finished macrame piece. In this case, I wanted the macrame part of the bracelet to be the same as the leather so that would be 14 inches. I then multiplied 14 times 8 and got 9 feet 4 inches. This piece will be folded in half and will be the working cords I tie the knots with. For the center cords that I will make the knots around I will double the length which in this case would be 14 x 2 or 28 inches. The core doesn’t get used up much but I want to play it safe.
3. Once you have your two cords, fold them each in half . Then insert them into the stringing hole on one of your strap tips and make a lark’s head knot. Then secure you bracelet by using a clip board or pinning it to a bead board through the stringing hole. Keeping tight tension on the square knots as you tie them makes them come out nice and even.
Hemp cord attached to the strap end cap with a larks head knot
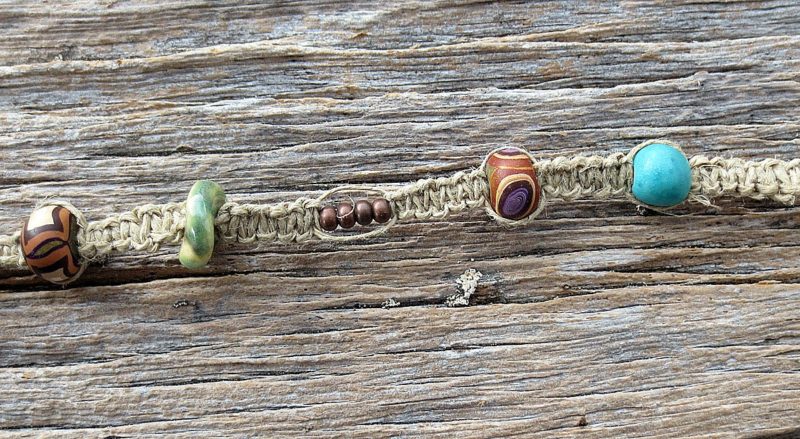
5. Begin making the square knot sennets. Decide how many knots you want between beads: I used between 5 and 6. I also set up a pattern of beads that I would use: Humblebead, my disk bead, 4 copper seed beads, Humblebead, my round bead, 4 copper seed beads( I used size 6 antique copper beads from Fusion beads)– and then repeat the sequence. For a good directions on how to make the square knots view this video on You Tube.
6. When you get to the first bead you want to add, slip the two center strands of the hemp through the bead and and the other two strands around the bead. Continue to tie your square knot. See examples in picture below. If the bead is a thin disk bead, and has a good size hole you can fit all 4 strands through it and continue on making your square knots.
example of how different beads are included in the square knots
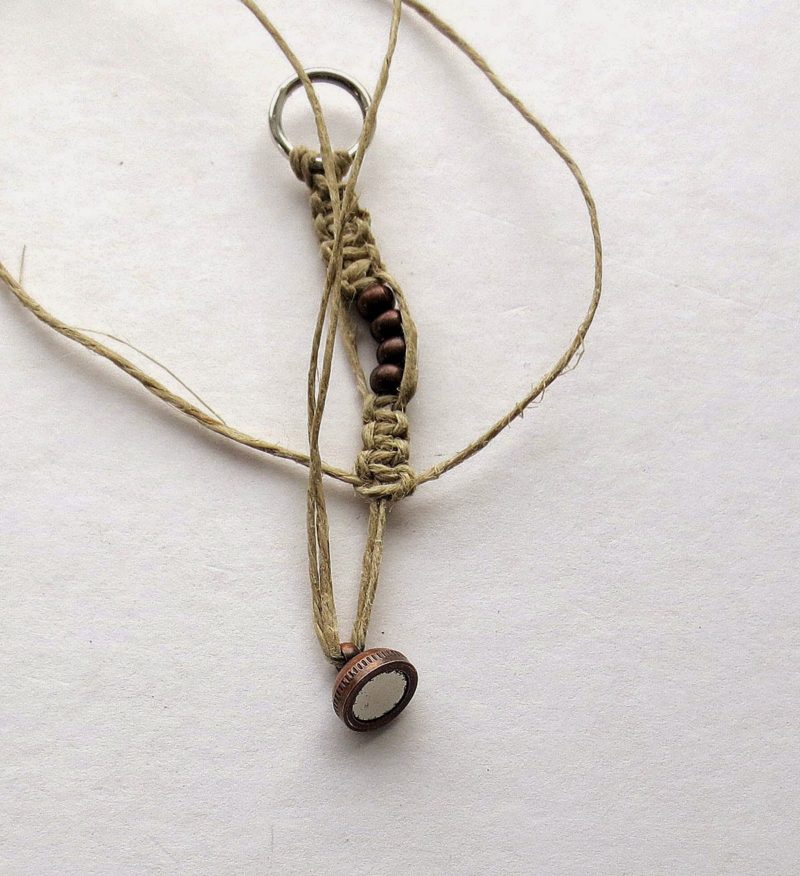
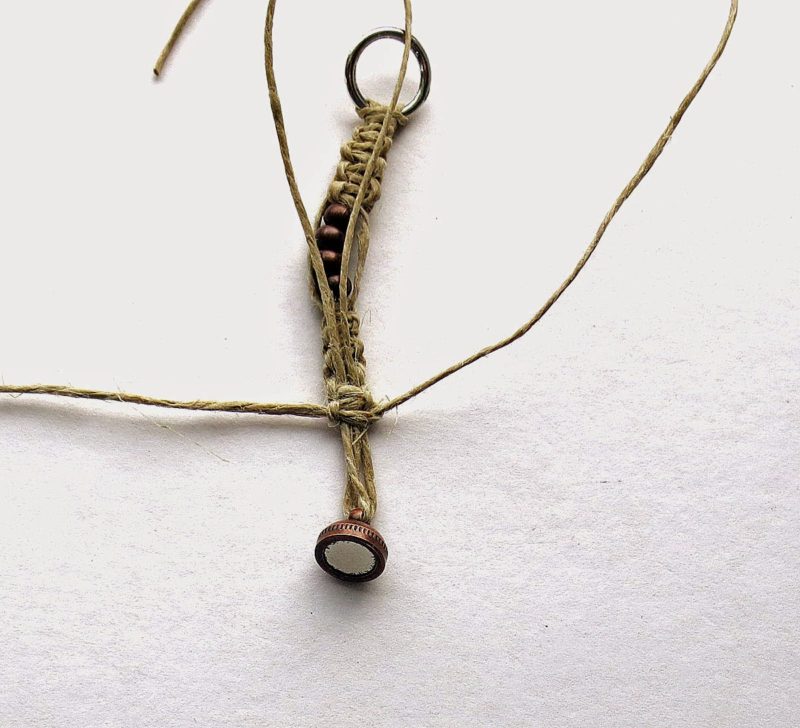
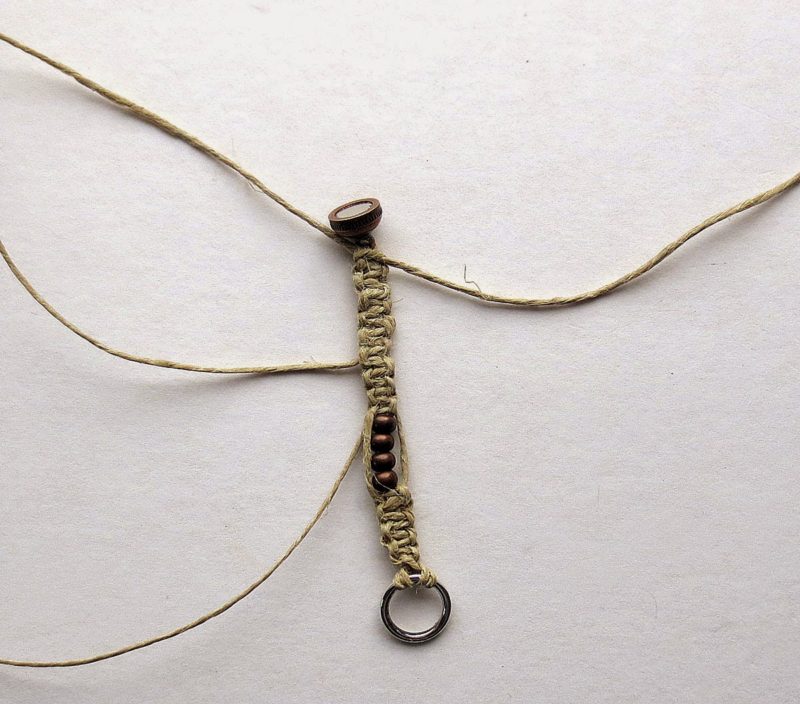
7. Once you get near to completion of your strand of square knots you will want to add one half of the magnetic clasp to your macrame cord and the other half to the tip end you riveted to the leather.
Magnetic clasp attached to metal tip end and macrame cord.
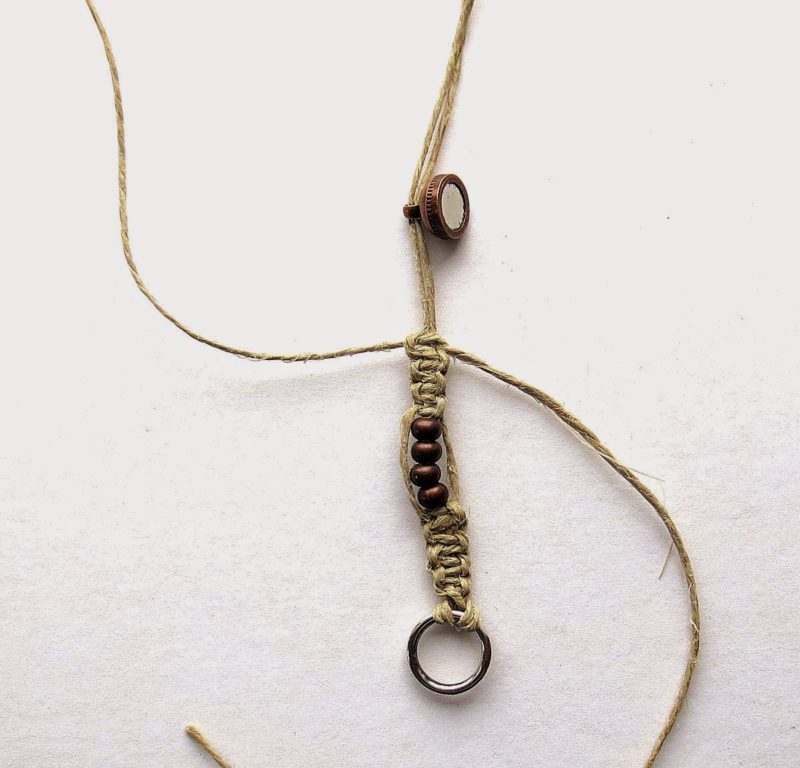
Attaching one half of the magnetic clasp to the macrame core:
To do this you will string the the two working cords through the loop on the clasp. See picture below:
Yeah!! You are finished and now you have a festive bracelet wrap for the Spring and Summer season.
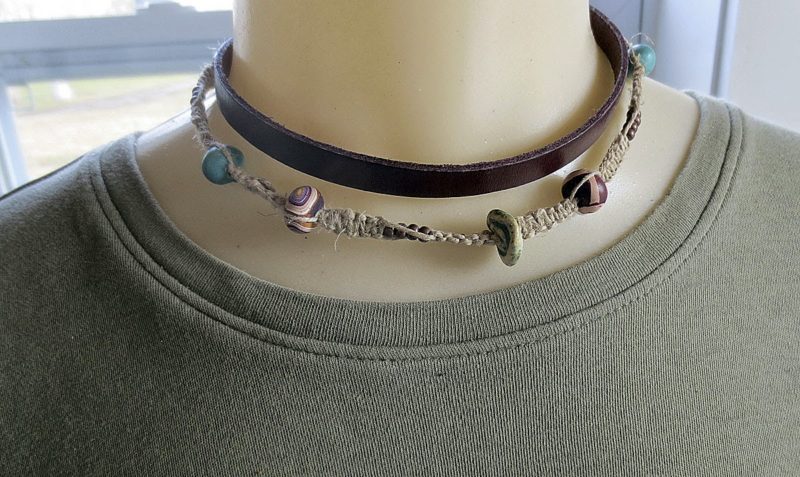
And your bracelet can double as a necklace:
Thanks so much for stopping by.
Mary


Carol Briody
April 23, 2015 at 11:20 pmI've been wanting to try macrame with beads for some time now..but just didn't know 'where' to get started. Thank you for this fabulous tutorial and super inspiration. I love what you created!
Katherine Thompson
April 24, 2015 at 1:00 pmMmmmm them's some yummy beads!
Pearl Blay
April 24, 2015 at 1:27 pmThanks for the tutorial! Love the way macrame is making a comeback – micro macrame is so much nicer this time round!
Claire Lockwood
April 24, 2015 at 10:20 pmSuper tute, Mary! So much work – thank you!
Natalie -- NKP Designs
April 26, 2015 at 12:15 amI love what you are doing with these small beads of mine. I have worked with Macrame a few times over the years but this makes me excited to give it another try. Awesome tutorial! Thanks! — Natalie