Directions:
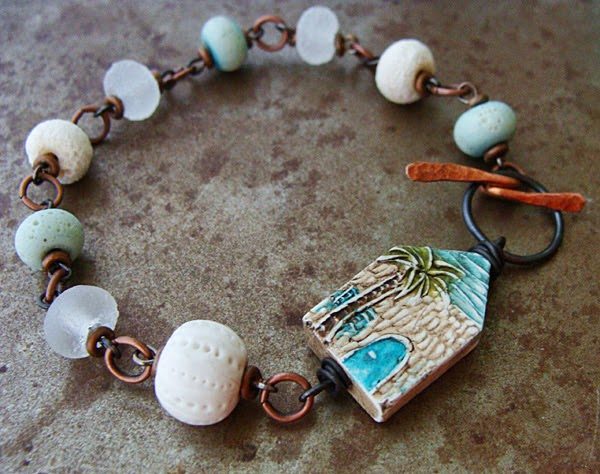
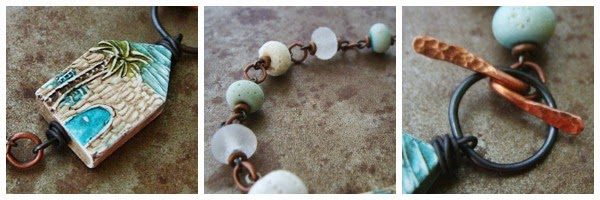
1. With the steel wire, create a messy wrapped loop* at one end with 2″ of wire. Add the house bead. Repeat another messy wrapped loop on top of the house.
(*Wire wrap under the loop tightly 2-3 times, continue wrapping the wire to create a looser wrap on top, use chain nose pliers to tuck the end of the wire tightly to the wrap.)
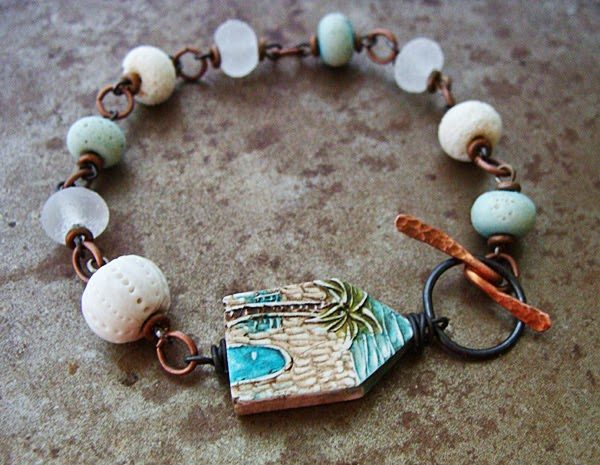
2. On an eyepin string one copper spacer, the urchin bead, one spacer, trim wire to a 1/4″ and create a loop. Repeat step 2 with all 8 lampwork spacers.
3. Attach each bead together with a copper jump ring.
4. Attach the house to the urchin beads with a copper jump ring. Attach the 15mm jump ring to the top of the house.
5. Wrap the copper wire around round nose pliers to form the clasp. File each end of the wire with a metal file or sand paper. Hammer each end of the clasp with a ball peen hammer. Antique clasp with liver of sulphur. Attach the clasp with a copper jump ring.
Supply List:
Beach House: Humblebeads. Uchin: BlueberriBeads. Lampwork Spacers: Genea Beads. Steel Wire: Ace Hardware. All other materials: Rings & Things.


Lynn
April 8, 2014 at 4:25 pmLove this bracelet and thanks for the tutorial!
Berina RGA
April 9, 2014 at 2:52 amthanks for the tutorial.. this is a nice bracelet!!
-Berina
Moxie Craftie