Happy Tutorial Tuesday. Today I’ll be sharing a tutorial with you for a pair of earrings using copper discs. I’ve been feeling like my creative juices are running low lately so I won’t insult your creativity and say this is a full blown tutorial like you’ve never seen before… like Claire’s Tutorial last week…wasn’t that Tropical Silk Necklace spectacular! Let’s just say it’s more like a meeting of creative minds, bouncing ideas around and considering design options.
This past winter into early Spring I began working on the Natural Impressions pieces which I unveiled in a post here at ABS. When I began creating this line I was most excited about the toggle as a focal concept. They’ve been popular online and at shows so I’ve been busy making them. (I’m working to restock my shop as I write.) As I was creating the toggles I couldn’t stop thinking about the discs as earrings. Big, round disc earrings. Now many months later I’m finally putting the idea together and sharing the design with you.
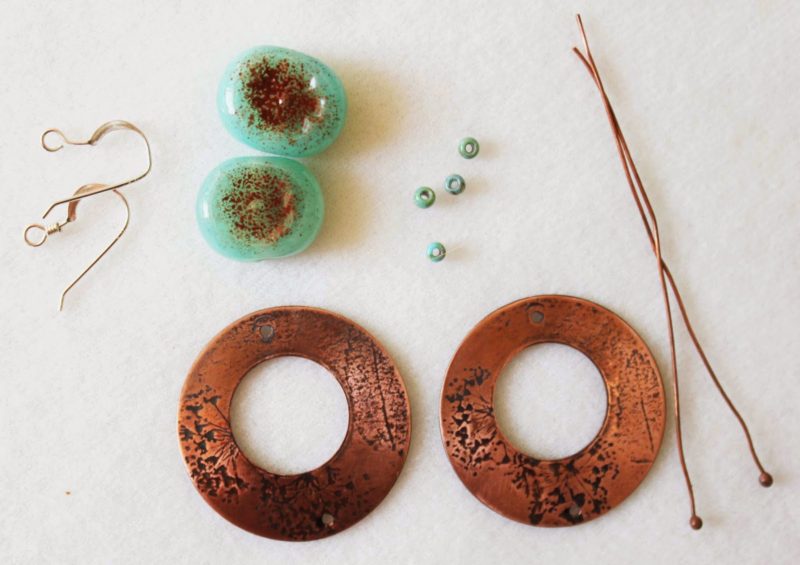
Materials for the project (detailed list below)
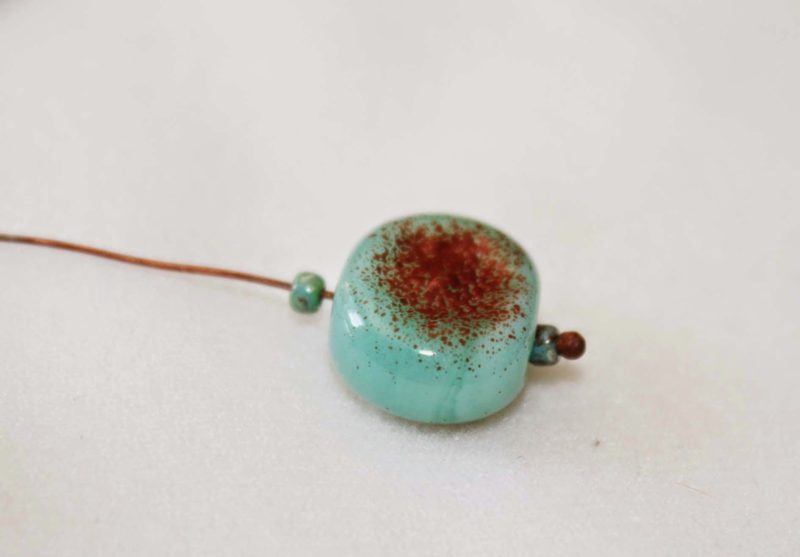
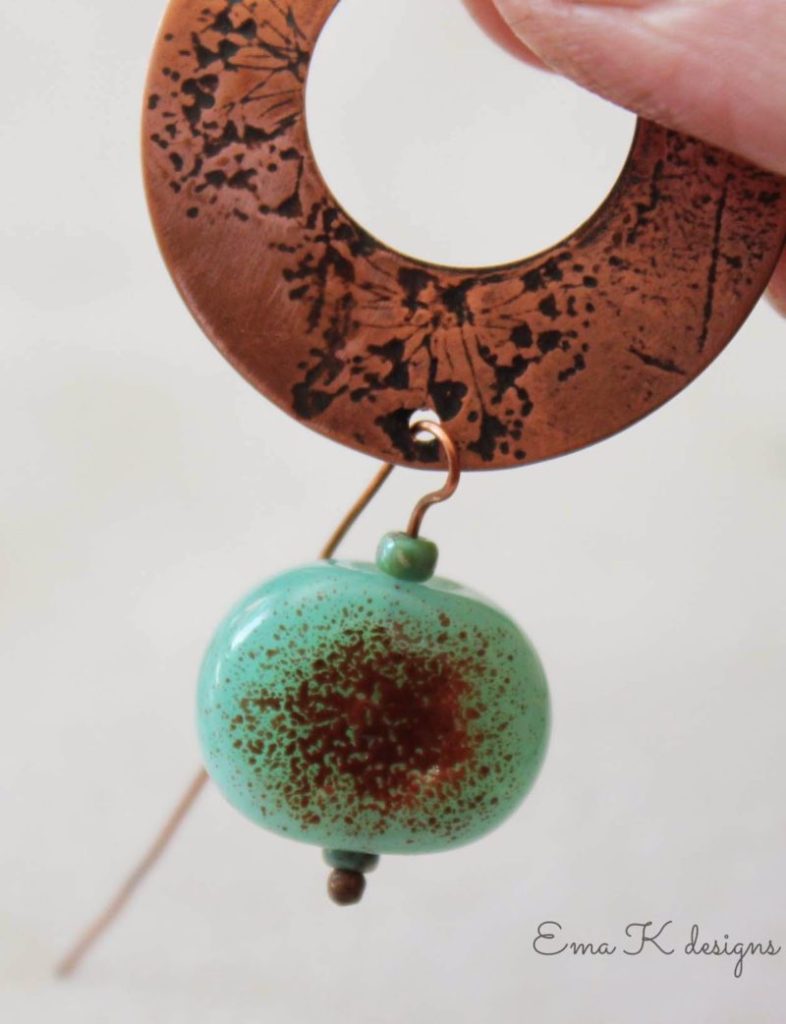
String a seed bead, lampwork bead and another seed bead onto a headpin.
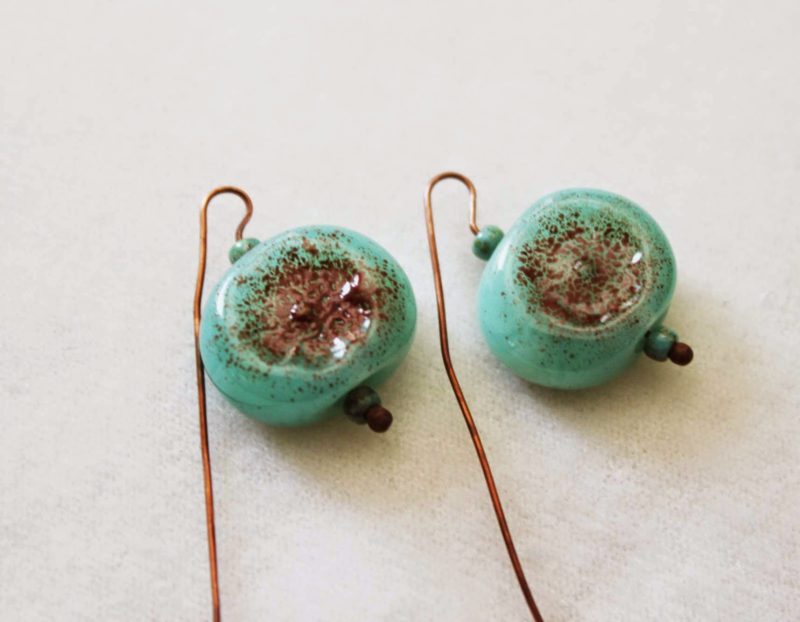
Start a wrapped loop.
Insert the loop into the bottom portion of the disc and finish wrapping the loop.
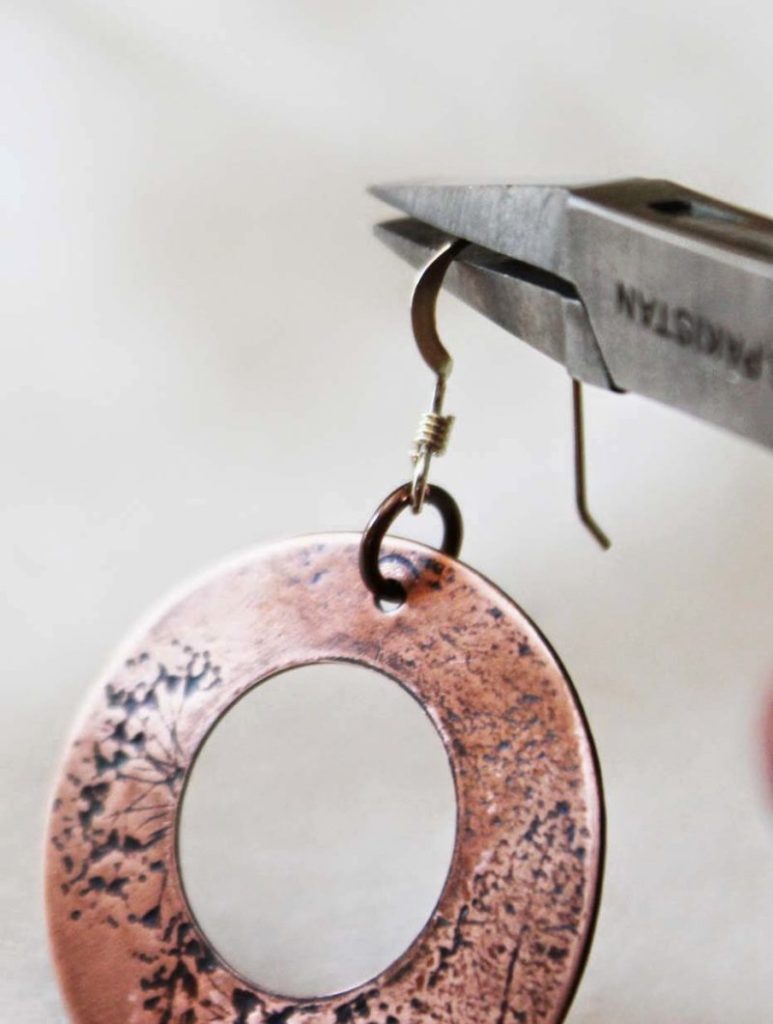
Add the earwire to the top of the disc.
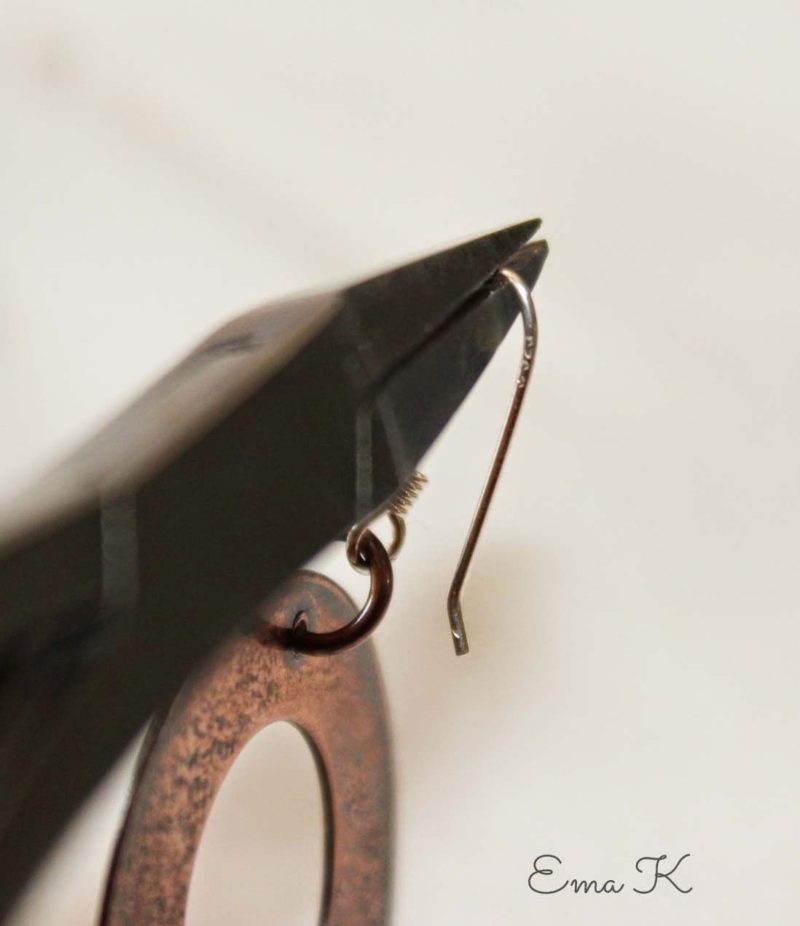
I like to make my earwires a bit square on the top. I find they stay in the ear better. I acheive the square by grasping the top of the earwire with flat nose pliers (preferably square flat nose pliers) and gently pressing the back of the earwire flush against the plier.
The finished earrings!
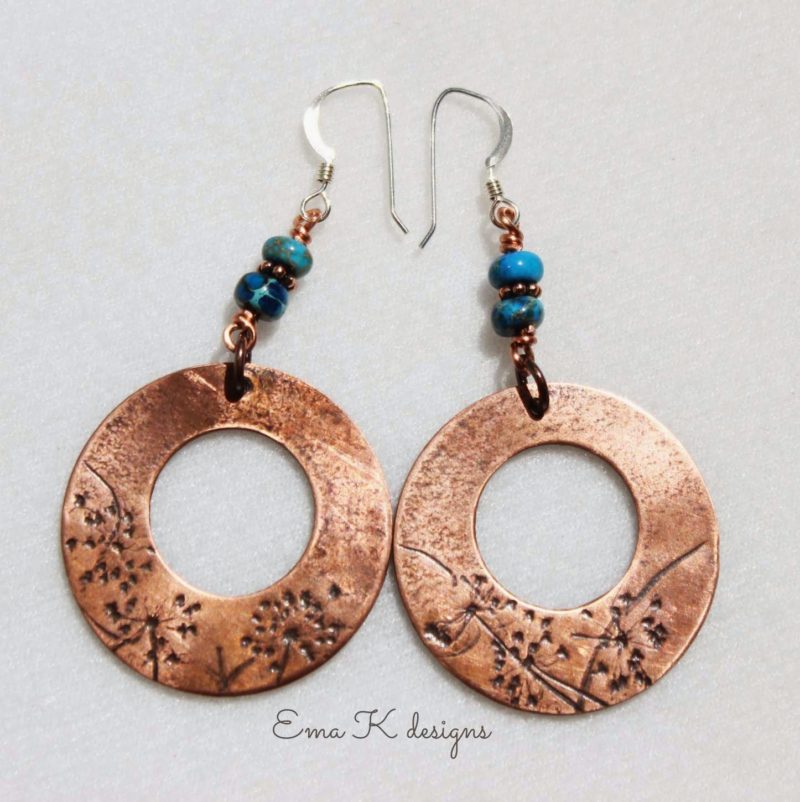
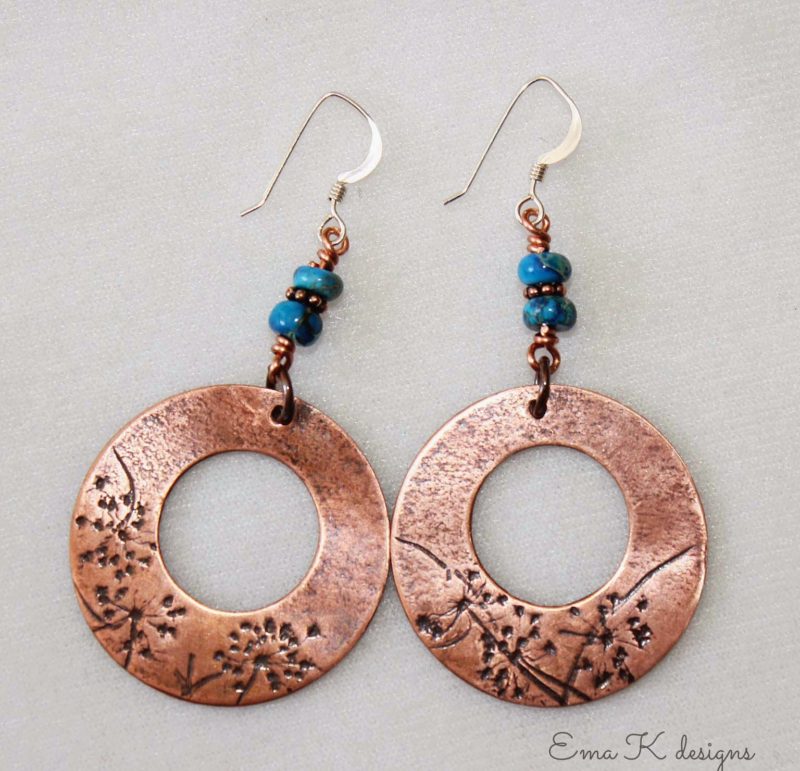
An alternative option….
The earrings pictured above have a slightly different design with accent beads above with the disc as the dangle. I have wire wrapped a jasper bead, a daisy spacer, and a jasper bead together and attached the disc to the wrapped set.
Materials list for the tutorial:
2 – copper headpins
4 – size 8 seed beads
2 – earwires
Thanks for taking the time to visit ABS today. I’d love it if you’d share your thoughts on the disc earrings. Do you prefer the pair that has the green lampwork as a dangle below the disc or the pair that has the jasper beads with the disc as the dangle? Or do you have another creative idea you’d use to turn these discs into a pair of earrings?
Ema Kilroy is a lampworker and metalsmith living and working in Central Massachusetts.



Deb Fortin
June 17, 2014 at 11:54 amHi Ema, though both earring designs are lovely in their own right , to me, the green pair make the green lamp work bead the focal. in the blue pair the discs are definitely the star. so I'd vote for the discs being the dangle part and not the lamp work bead.
but i'd wear either .
your copper discs are lovely with the impressed design.
Claire Lockwood
June 17, 2014 at 4:35 pmThese are beautiful. I'd love to try those discs out myself!
Sharyl
June 17, 2014 at 8:05 pmLove your copper disks, Ema!
Karen M
June 17, 2014 at 10:28 pmI really like the look of these earrings. Thanks so much for this tutorial.
Shaiha
June 18, 2014 at 1:45 amBoth designs are great, they just highlight different things. I think that I would use a plain disc with the green pair because the lampwork is the star of the show. In the blue ones, I am drawn to the disc so I would want them to be all prettied up.
Glenda Newnham
June 18, 2014 at 7:35 amLove them!! Esp the copper discs!
Catherine Hex
June 18, 2014 at 12:16 pmEma, thanks a lot for the tips! These earrings are so beautiful and interesting. I can't wait to make a pair too.
PaintedSouvenirs
Lynn
June 22, 2014 at 12:20 amI love both pairs of earrings with your beautiful copper disks. I have made quite a few earrings using copper disks and another look I like is a small bead dangling into the center hole. Also, three holes along the bottom of the disk with a small dangle in each one. Thanks for sharing your tutorial! Lynn Carling 🙂