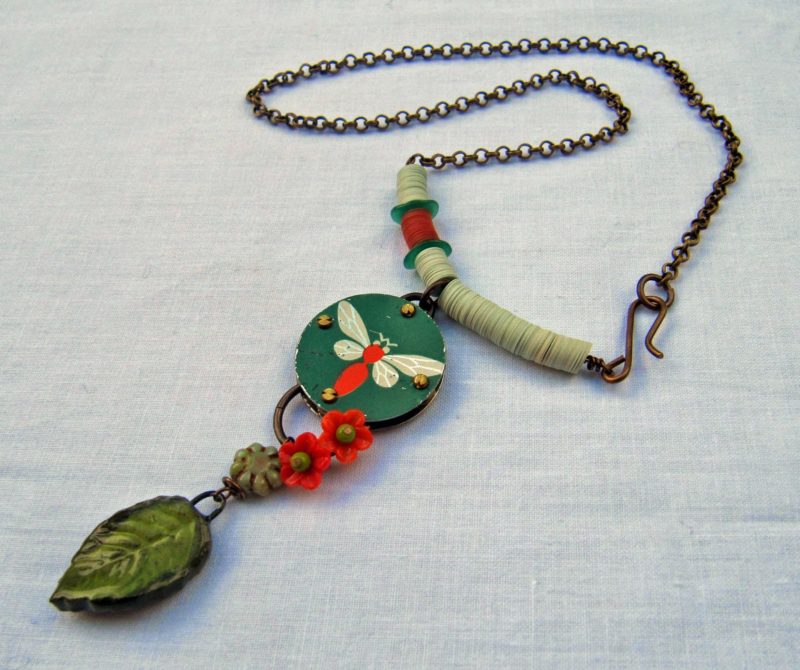
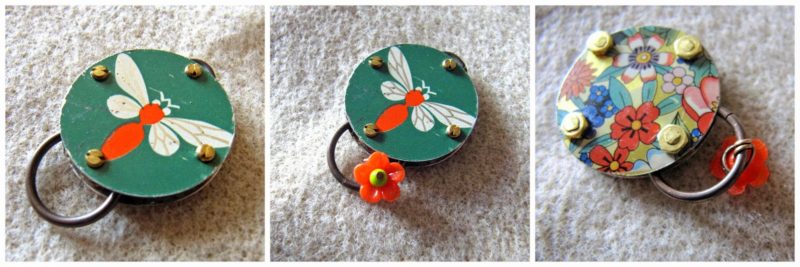
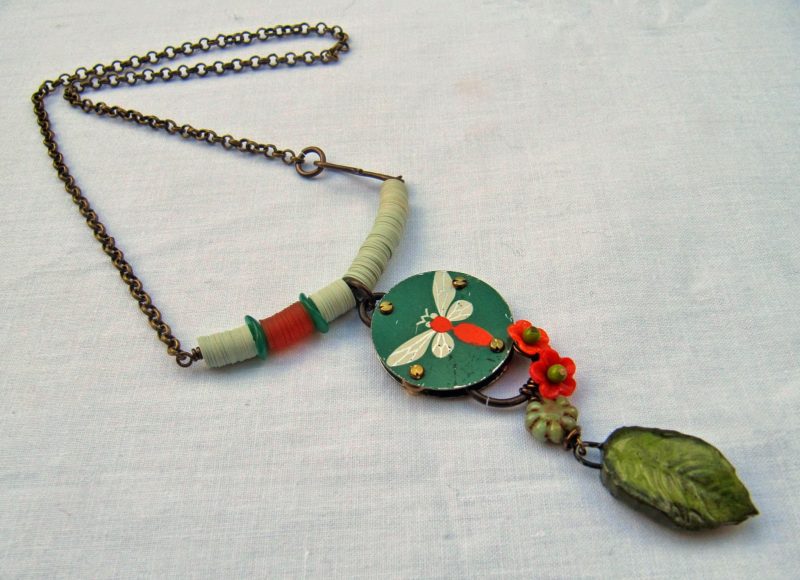
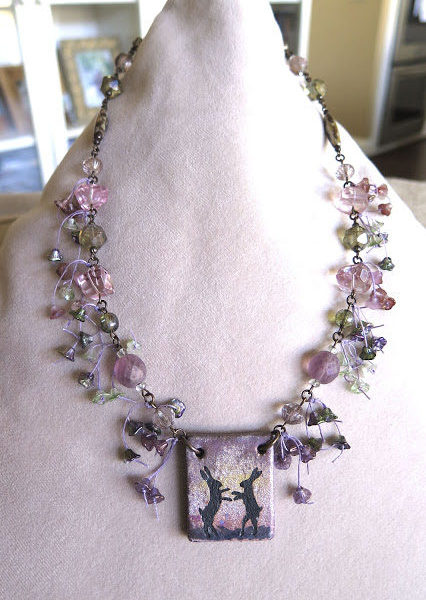
I received this fabulous connector from Lorelei Eurto the other day. I have several of her connectors and clasps now; they have taken root in my stash and I’m struggling to pull them out and use them. With this one, I decided I’d get it worked into a piece before it became ensconced in my hoard. This is what I came up with.
Sometimes you want to wear just a relatively simple pendant-style necklace, but you want some thing more than just a pendant on a chain or cord. That’s what I was aiming for with this design.
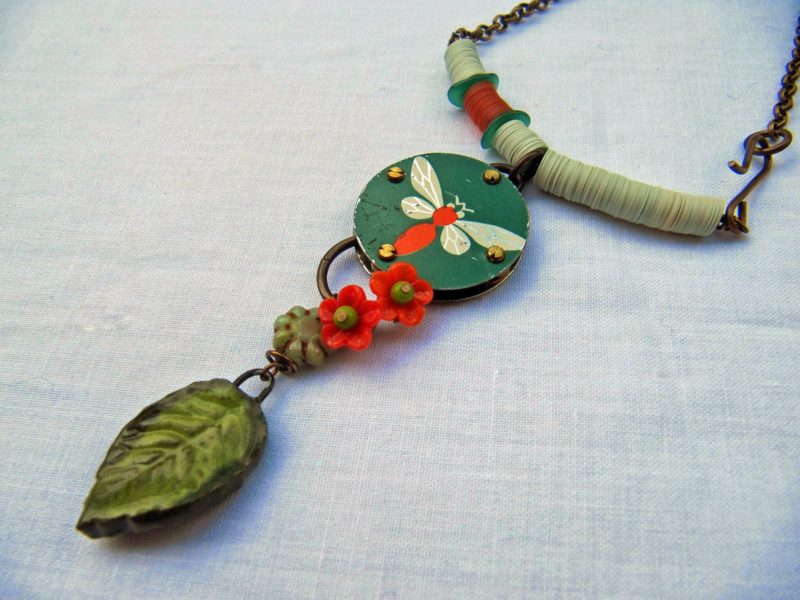
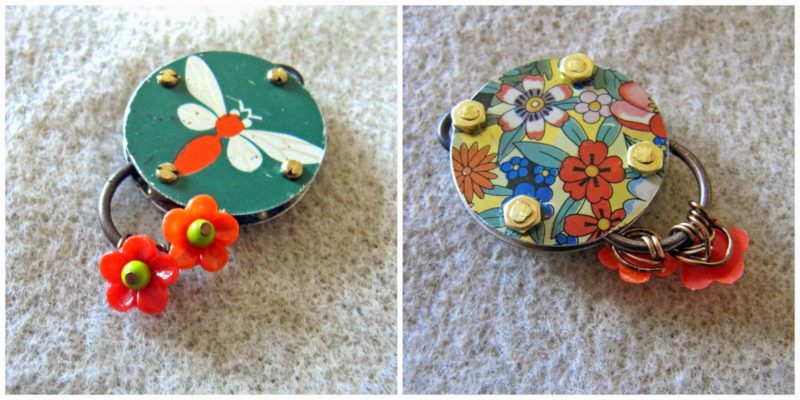
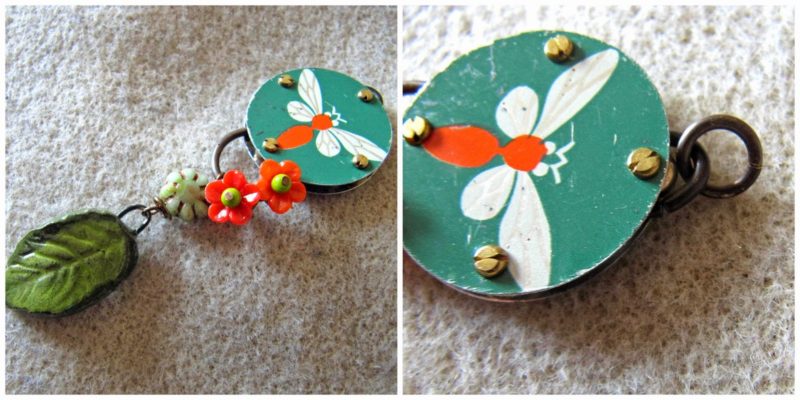
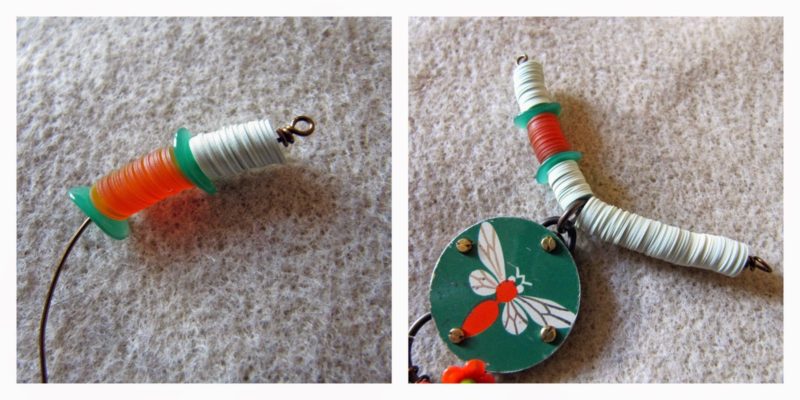
I just love the vintage tins that Lorelei uses and I decided that I’d team her connector with a selection of other vintage goodies. I’ve used vintage acrylic flowers, vintage Miyuki petal beads, and vintage sequins, all in co-ordinating colours. Aside from these items, if you want to recreate this piece, you’ll also need around 25cm of 0.6mm wire, some fine(-ish) chain (the amount you use will depend on where you want your necklace to sit), two head pins, a hook clasp, a couple of jump rings and a couple of seed sized beads. I’ve also used a czech glass flower coin and a Scorched Earth leaf drop (I promise I will do a tutorial soon that doesn’t feature a SE component – just not today!) Obviously, I’m being very specific here with the last couple of ingredients; you could, of course, put all manner of items in their place. Start by threading a seed bead and an acrylic flower onto a headpin and attach it to the larger link at the bottom of the connector by wrapping the end of the pin round the link several times, then wrapping it around the back of the flower.
Next, add a second flower in the same way. Then take about 7cm of 0.6mm wire and secure one end, with a couple of wraps, onto the connector. Use this to fix the flowers into position, wrapping around the back of them. Trim when you are happy they are securely positioned. As you’ll see, you don’t need to be a demon wire worker to do this… …ahem…
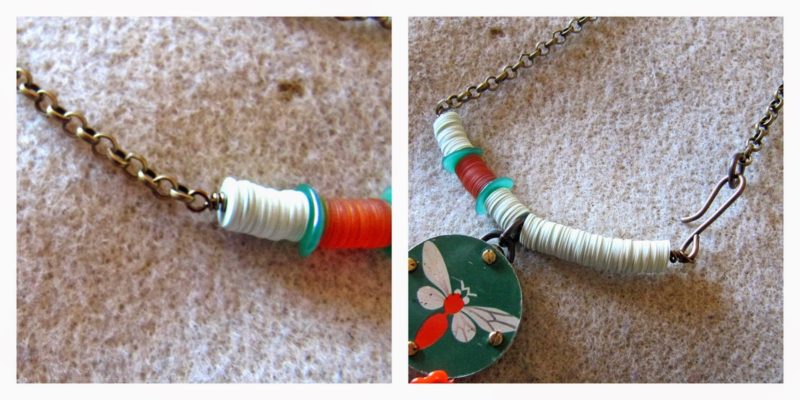
To complete your necklace, add one end of your chain to one side of the sequin bar and attach a jump ring to the other end of the chain. Finally, attach the hook clasp onto the other end of your sequin bar.
And there you have your finished necklace!
Now I have to decide whether to keep or whether to sell!
Claire
something to do with your hands
something to do with your hands on Etsy

Lorelei Eurto
July 15, 2014 at 12:29 pmHow awesome!! I love the whole design! The connector is perfect as the focal! Great Job! And thanks for doing the tuts, I think it will be really popular!
maryharding
July 15, 2014 at 3:56 pmWonderful necklace Claire!! Fabulous focal and vintage theme beautifully carried through in all the details. Love those sequins too!!
Malin de Koning
July 15, 2014 at 7:19 pmGreat design Claire! I love the color scheme and the general feel of the whole thing :-).
13
July 15, 2014 at 9:56 pmNothing wrong with using a bit more ScorchedEarth : ) Lovely tutorial
CraftyHope
July 16, 2014 at 2:11 amWhoa! This is so great. Thanks for all the details. I especially like your use of the sequins. They really give the necklace some oomph. Now I kinda hate that I got rid of most of my sequin collection. Ha!
Kathy
July 16, 2014 at 4:19 amI love how the whole thing pops. Thanks for showing us.
Angela Smith
July 16, 2014 at 8:47 pmFabulous necklace and what a great way to use sequins too!
Tina
July 17, 2014 at 12:33 pmWonderful necklase, like your design a lot:-)
Enjoy the day.
Tina
http://mariahoffbeck.blogspot.dk/p/blog-page_3.html